“Our energy bills have dropped by about 70% from the old house that was on site.”
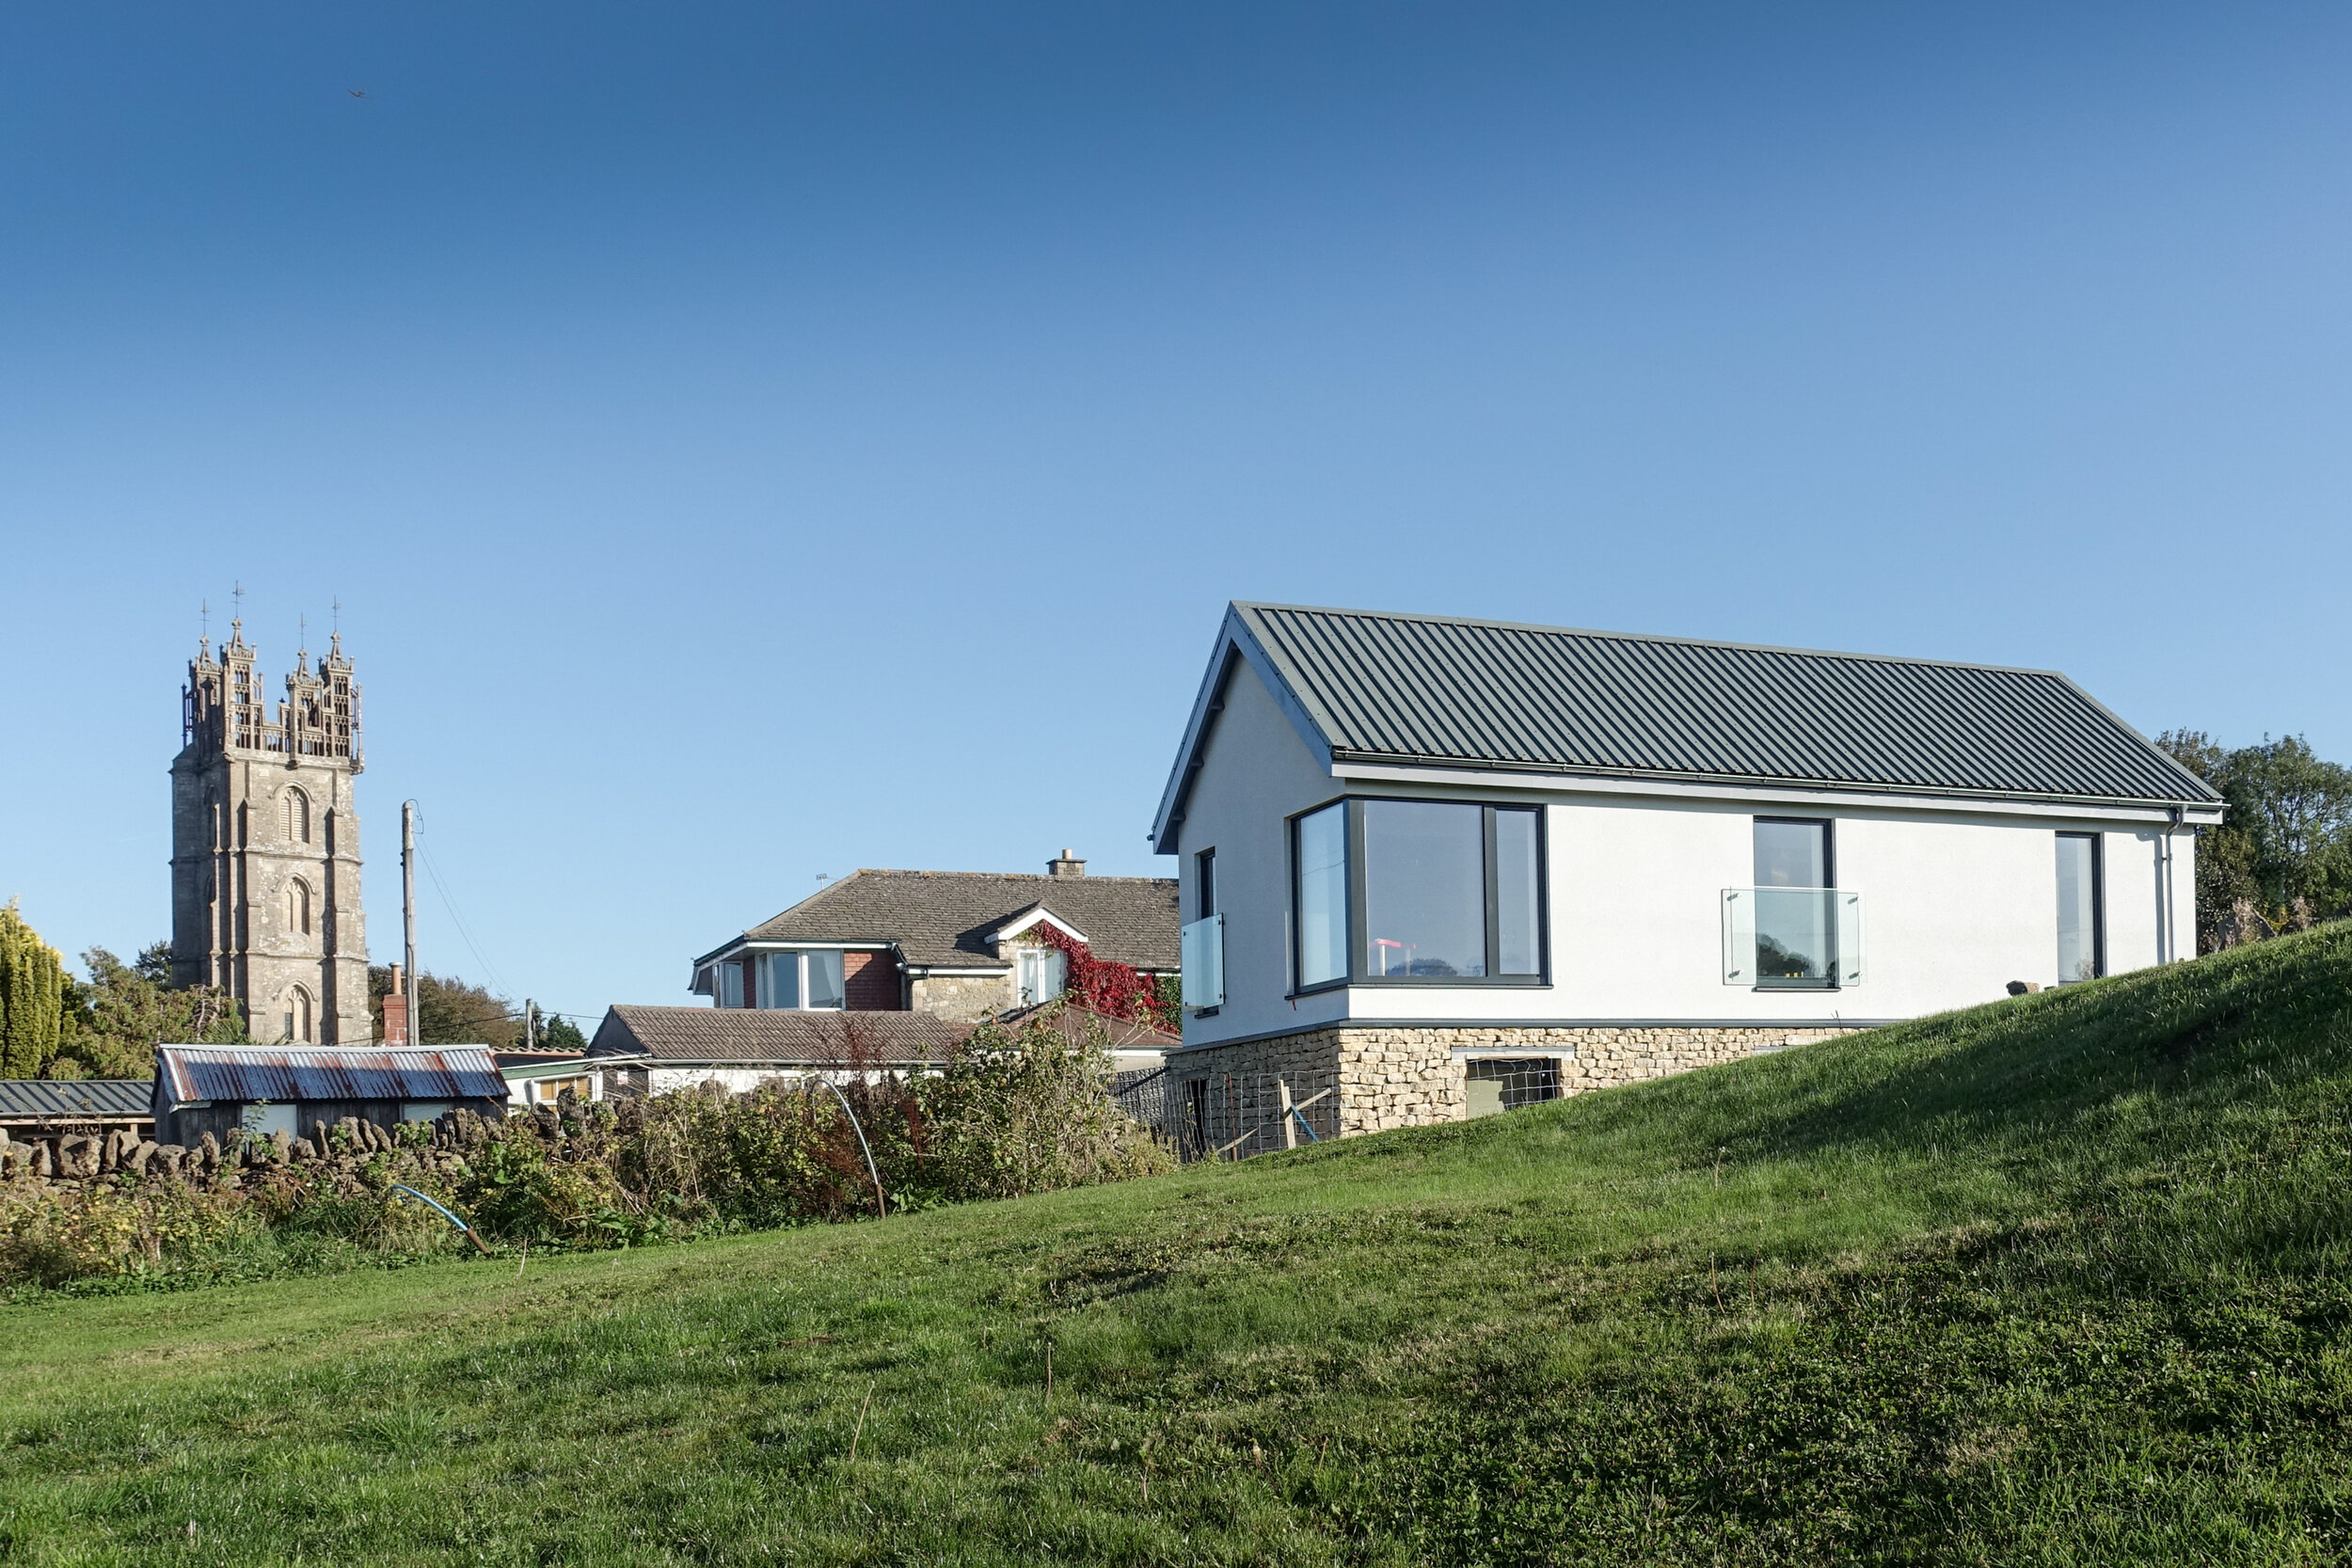
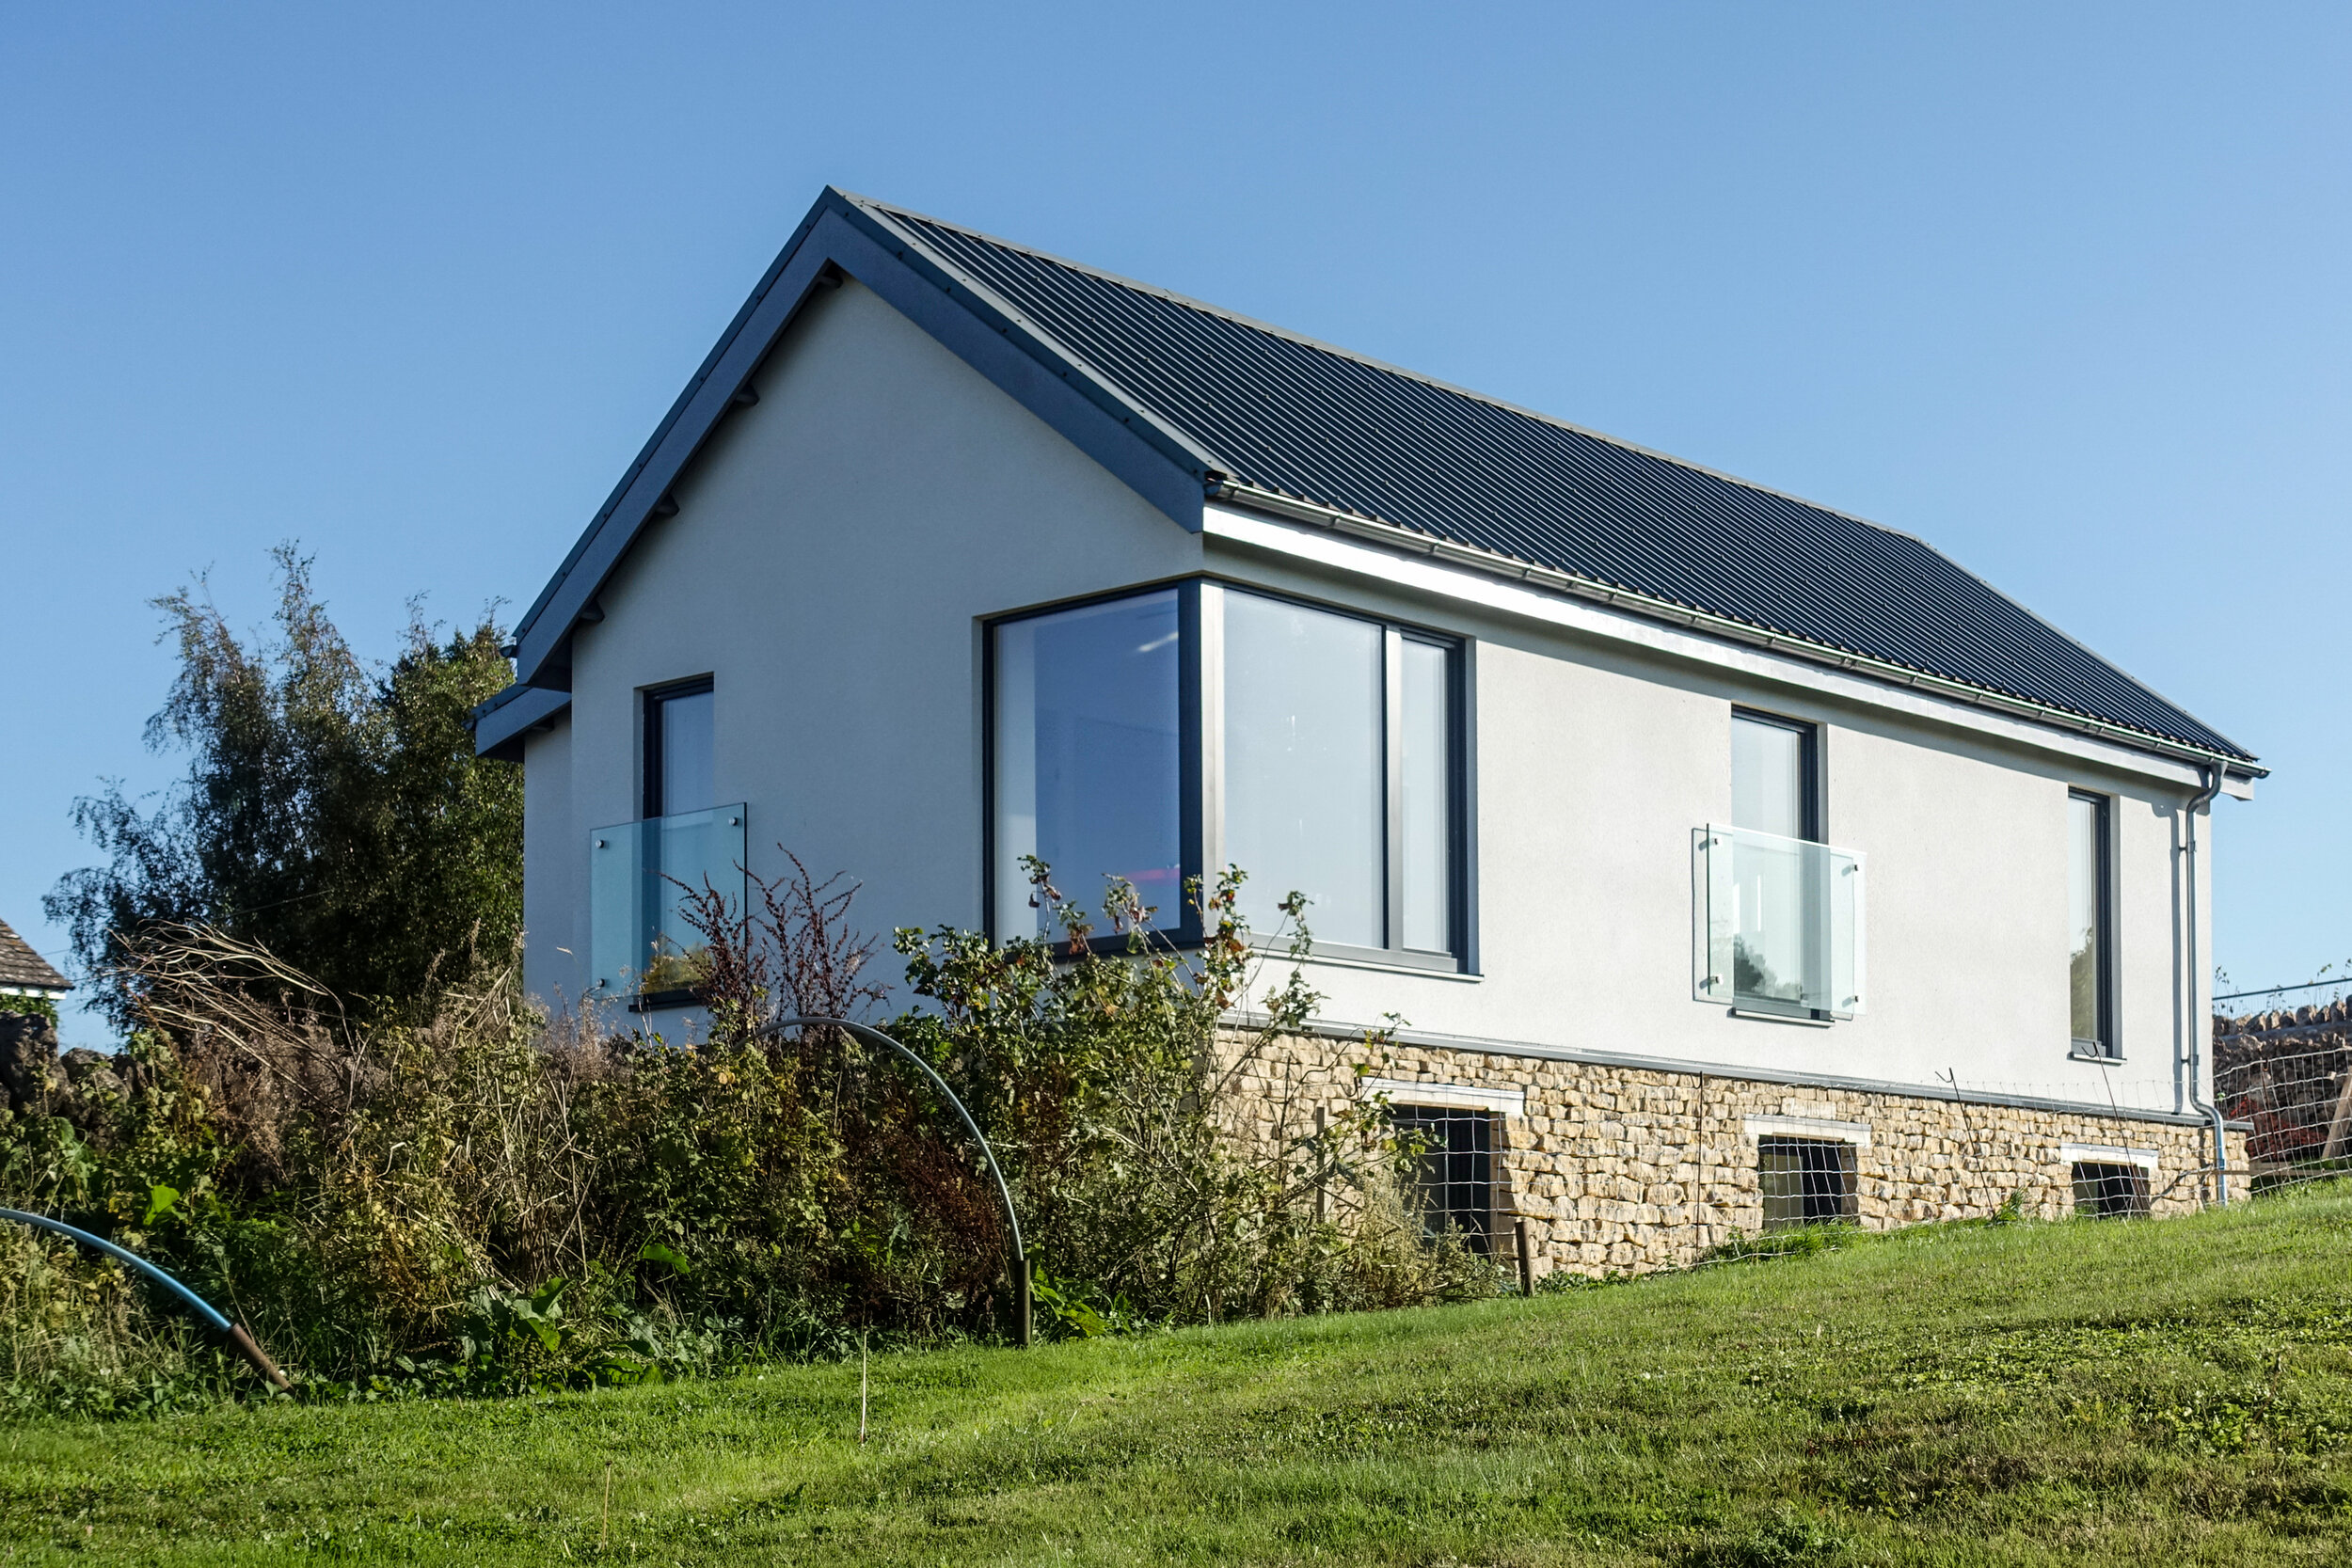
gcp Chartered Architects were appointed by a private client to create a flexible 3-bedroom home to be certified to the Passivhaus performance standard. We have recently interviewed our client Roy and we are excited to share his experience below.
Hello Roy, I would like to thank you for taking the time to share your experience as a Passivhaus owner and answer our questions. I am sure most people would wonder when did you find out about Passivhaus and how did you decide that you would like to live in one.
Our main driver was to have a house that had the lowest possible running costs. We recognised this was going to mean some more investments upfront, but we were trying to think about the lifetime of the house, recognising it would outlive us. (A concept that was introduced to us when we attended a Passivhaus open day: a building should be designed to outlive its current owners!)
We were already familiar with the concept of Passivhaus as our friends in Switzerland live in a very airtight, super insulated house supported by an MVHR system. Triple glazing and several other features often seen in a Passivhaus design are commonplace in new builds in several parts of Europe and Scandinavia. So, although their house was not formally certified, it is a Passivhaus in all but name! It helped us to see some of the benefits first-hand and to consider the maintenance of running a Passivhaus, which was important to us, we did not want to build a house that was too complex to understand or live in.
Once the route of Passivhaus was decided, we went about gaining as much information as we could, visiting two other houses through the Passivhaus open days. We are hoping to support this going forward as it really helped us to see how Passivhaus would work in the UK. I also read ‘The Passivhaus Handbook’ and pretty much everything else I could find on the internet to help us understand the choices we were making.
Once we had decided on the ICF system, I actually went and laboured on a couple of other house builds when they did their ‘pour days’ as you tend to need a few extra hands-on-deck during this part of the process. This was arranged through the local Nudura representative, the ‘pour days’ are when you fill the void created by the ICF with concrete – and lots of it. The main thing this taught me was not to underestimate the benefits of good preparation and having the site ready….and allow enough time to double check everything is really ready for the pour!
Having reviewed the information you have shared in your blog, I understand that you have been actively involved in building your house. Was this an easy process? Would you like to share an insight to your experience?
Easy? No. Worth it? Absolutely!
I always knew I wanted to be hands-on and do more than ‘project managing’ and I am very lucky to have a brother who was able to take a break from his own business to come and live on site to help. I say help, he brought the skilled labour to the build!
We did over 90% of the work ourselves, having only a couple of trades in over the whole project. This meant that I was aware of all the decisions that needed to be made and the interdependencies of certain stages. We drove the schedule for the work, so we set the pace.
Being hands on allowed me to really shop around for materials well in advance to get the best prices on everything that we could. The saving we had on some of the most basic building materials was massive, from big one-off items down to non-specialist products like screws and silicone.
My brother, Mark, is a carpenter by trade and so the ICF system was a perfect fit. Many of the worries of things like getting the corners square for the foundations were taken away as these came pre-formed from Isoquick for the insulated slab and from Nudura for the ICF system. So with the regular use of a laser level (well worth the investment to buy one rather than rent) and a trusty spirit level the walls went up quickly, true and square.
There was only one sleepless night, at the start of project, the night before the pour of the foundations into the insulated slab! I had done all the estimations for the concrete myself, having never done anything of this scale before. It was the equivalent of 6 concrete wagons and I just hoped I’d ordered enough but not too much! Luckily, it turned out to be pretty much spot on.
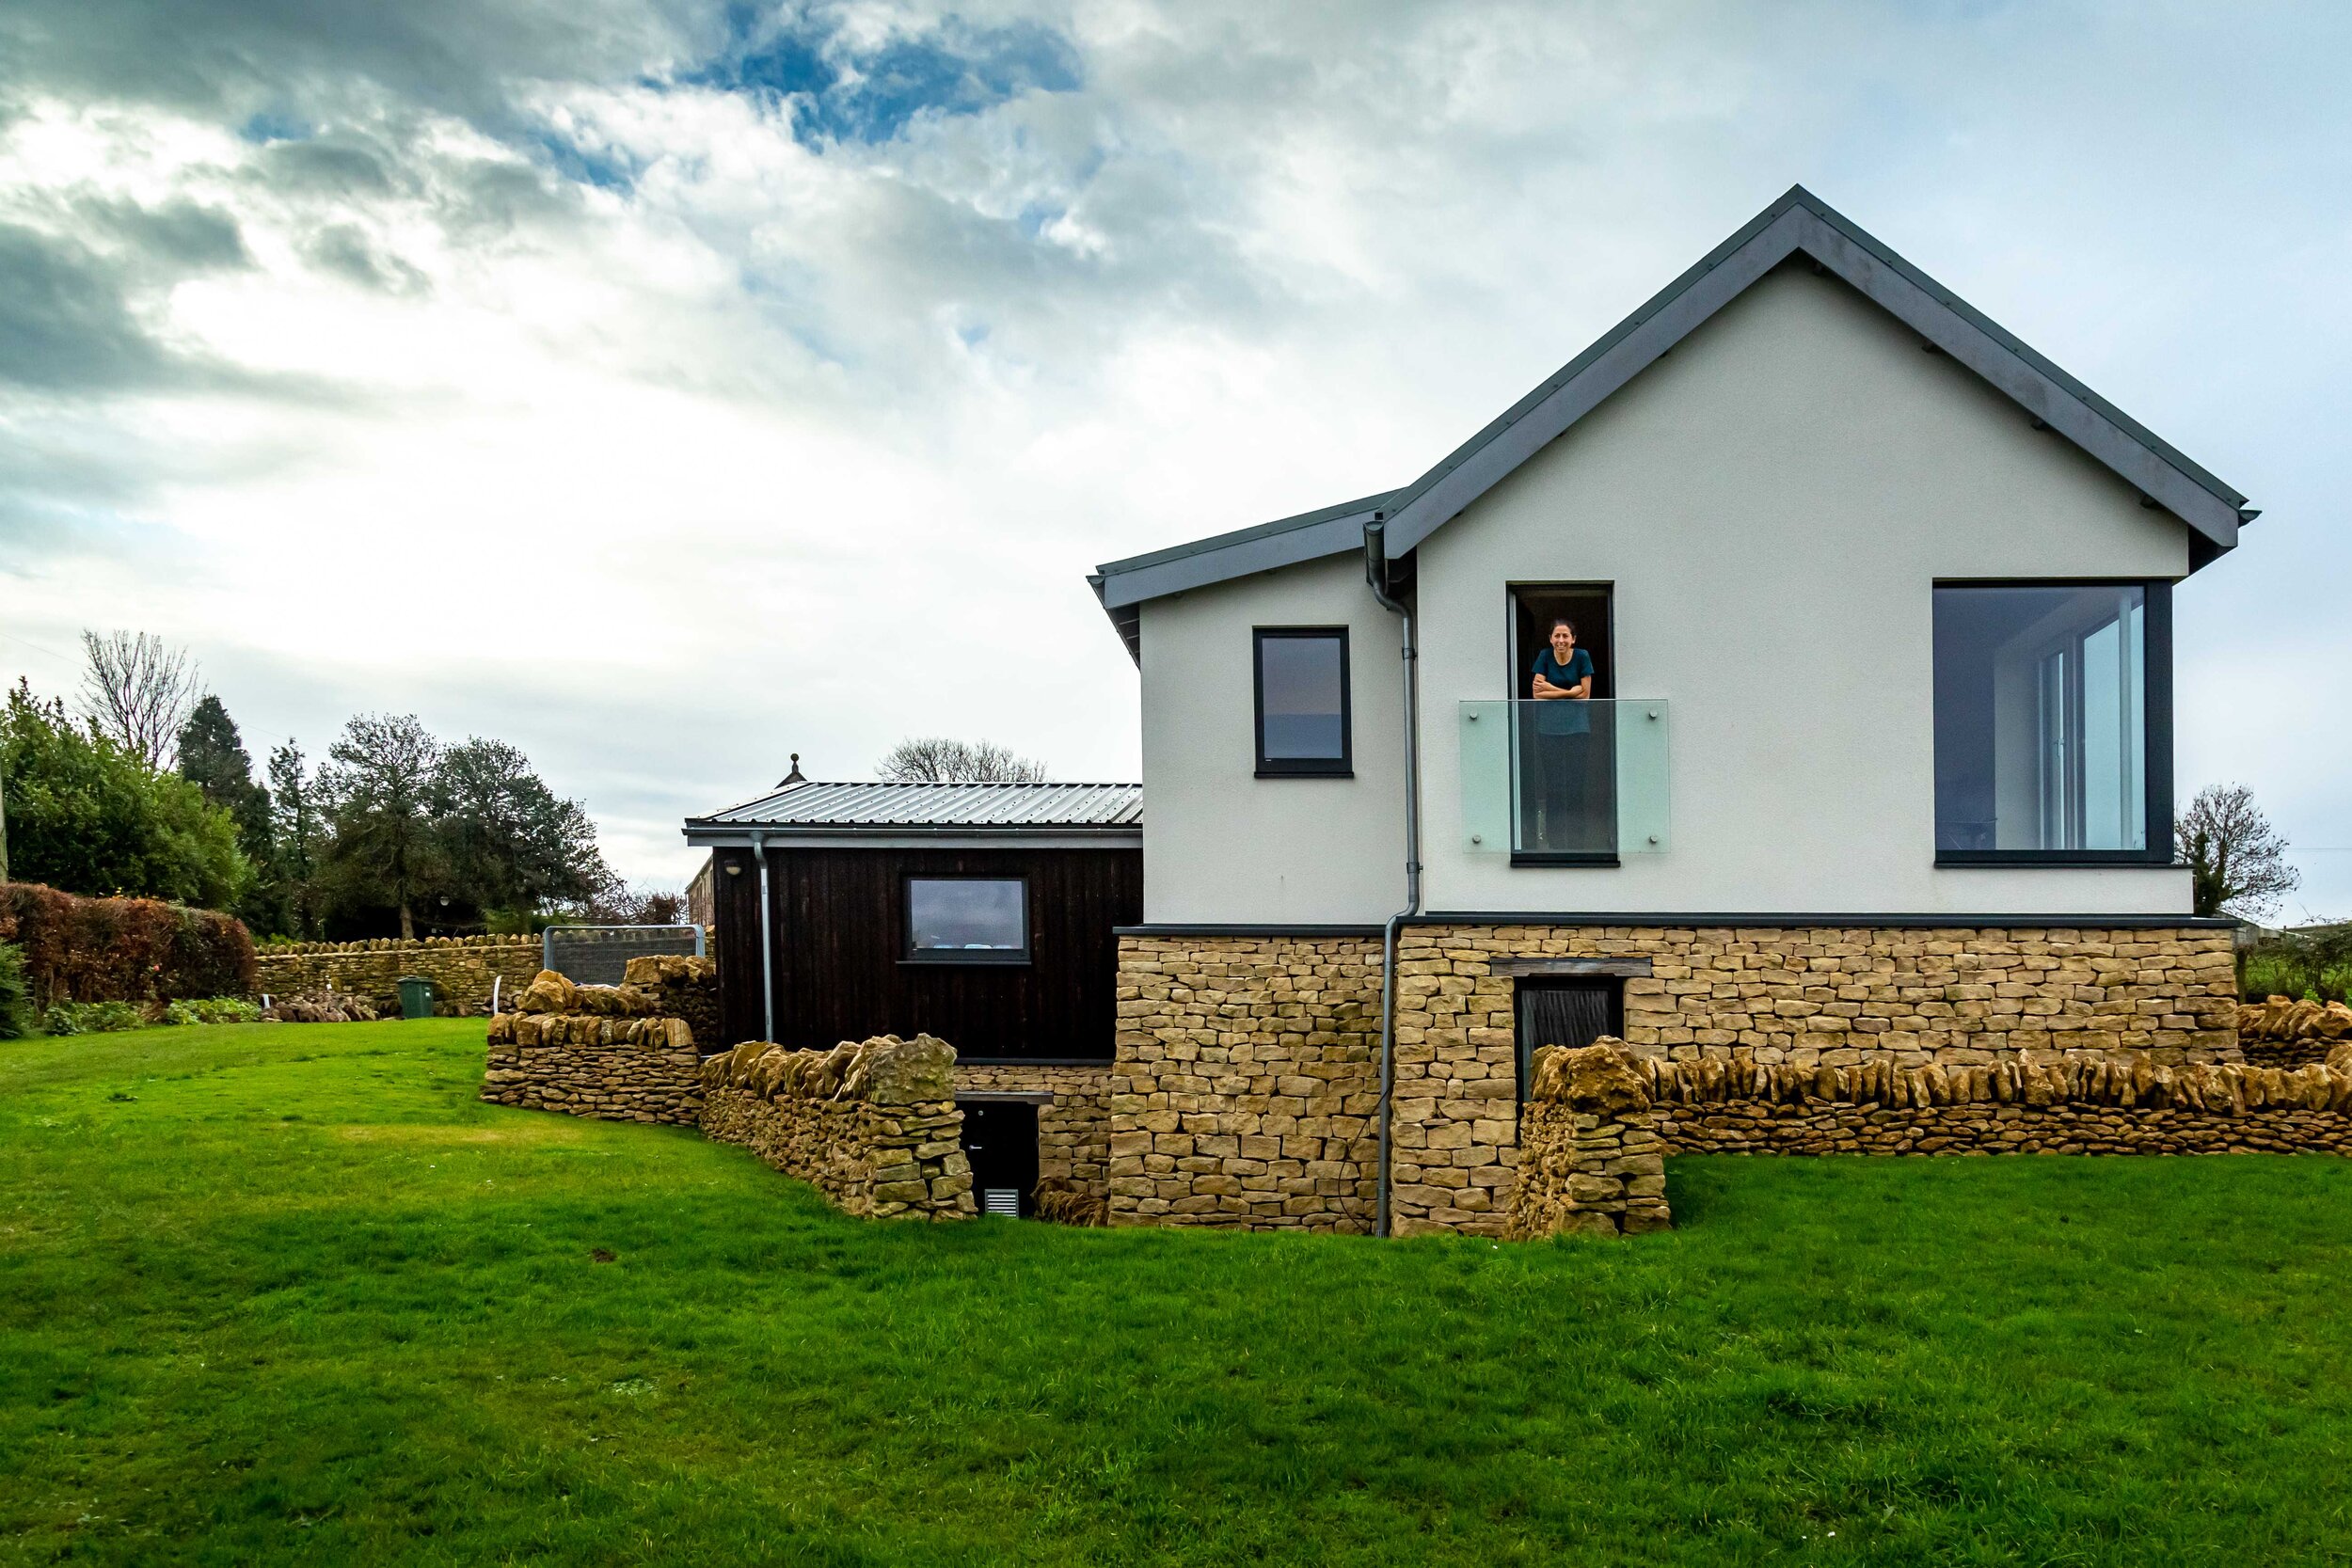
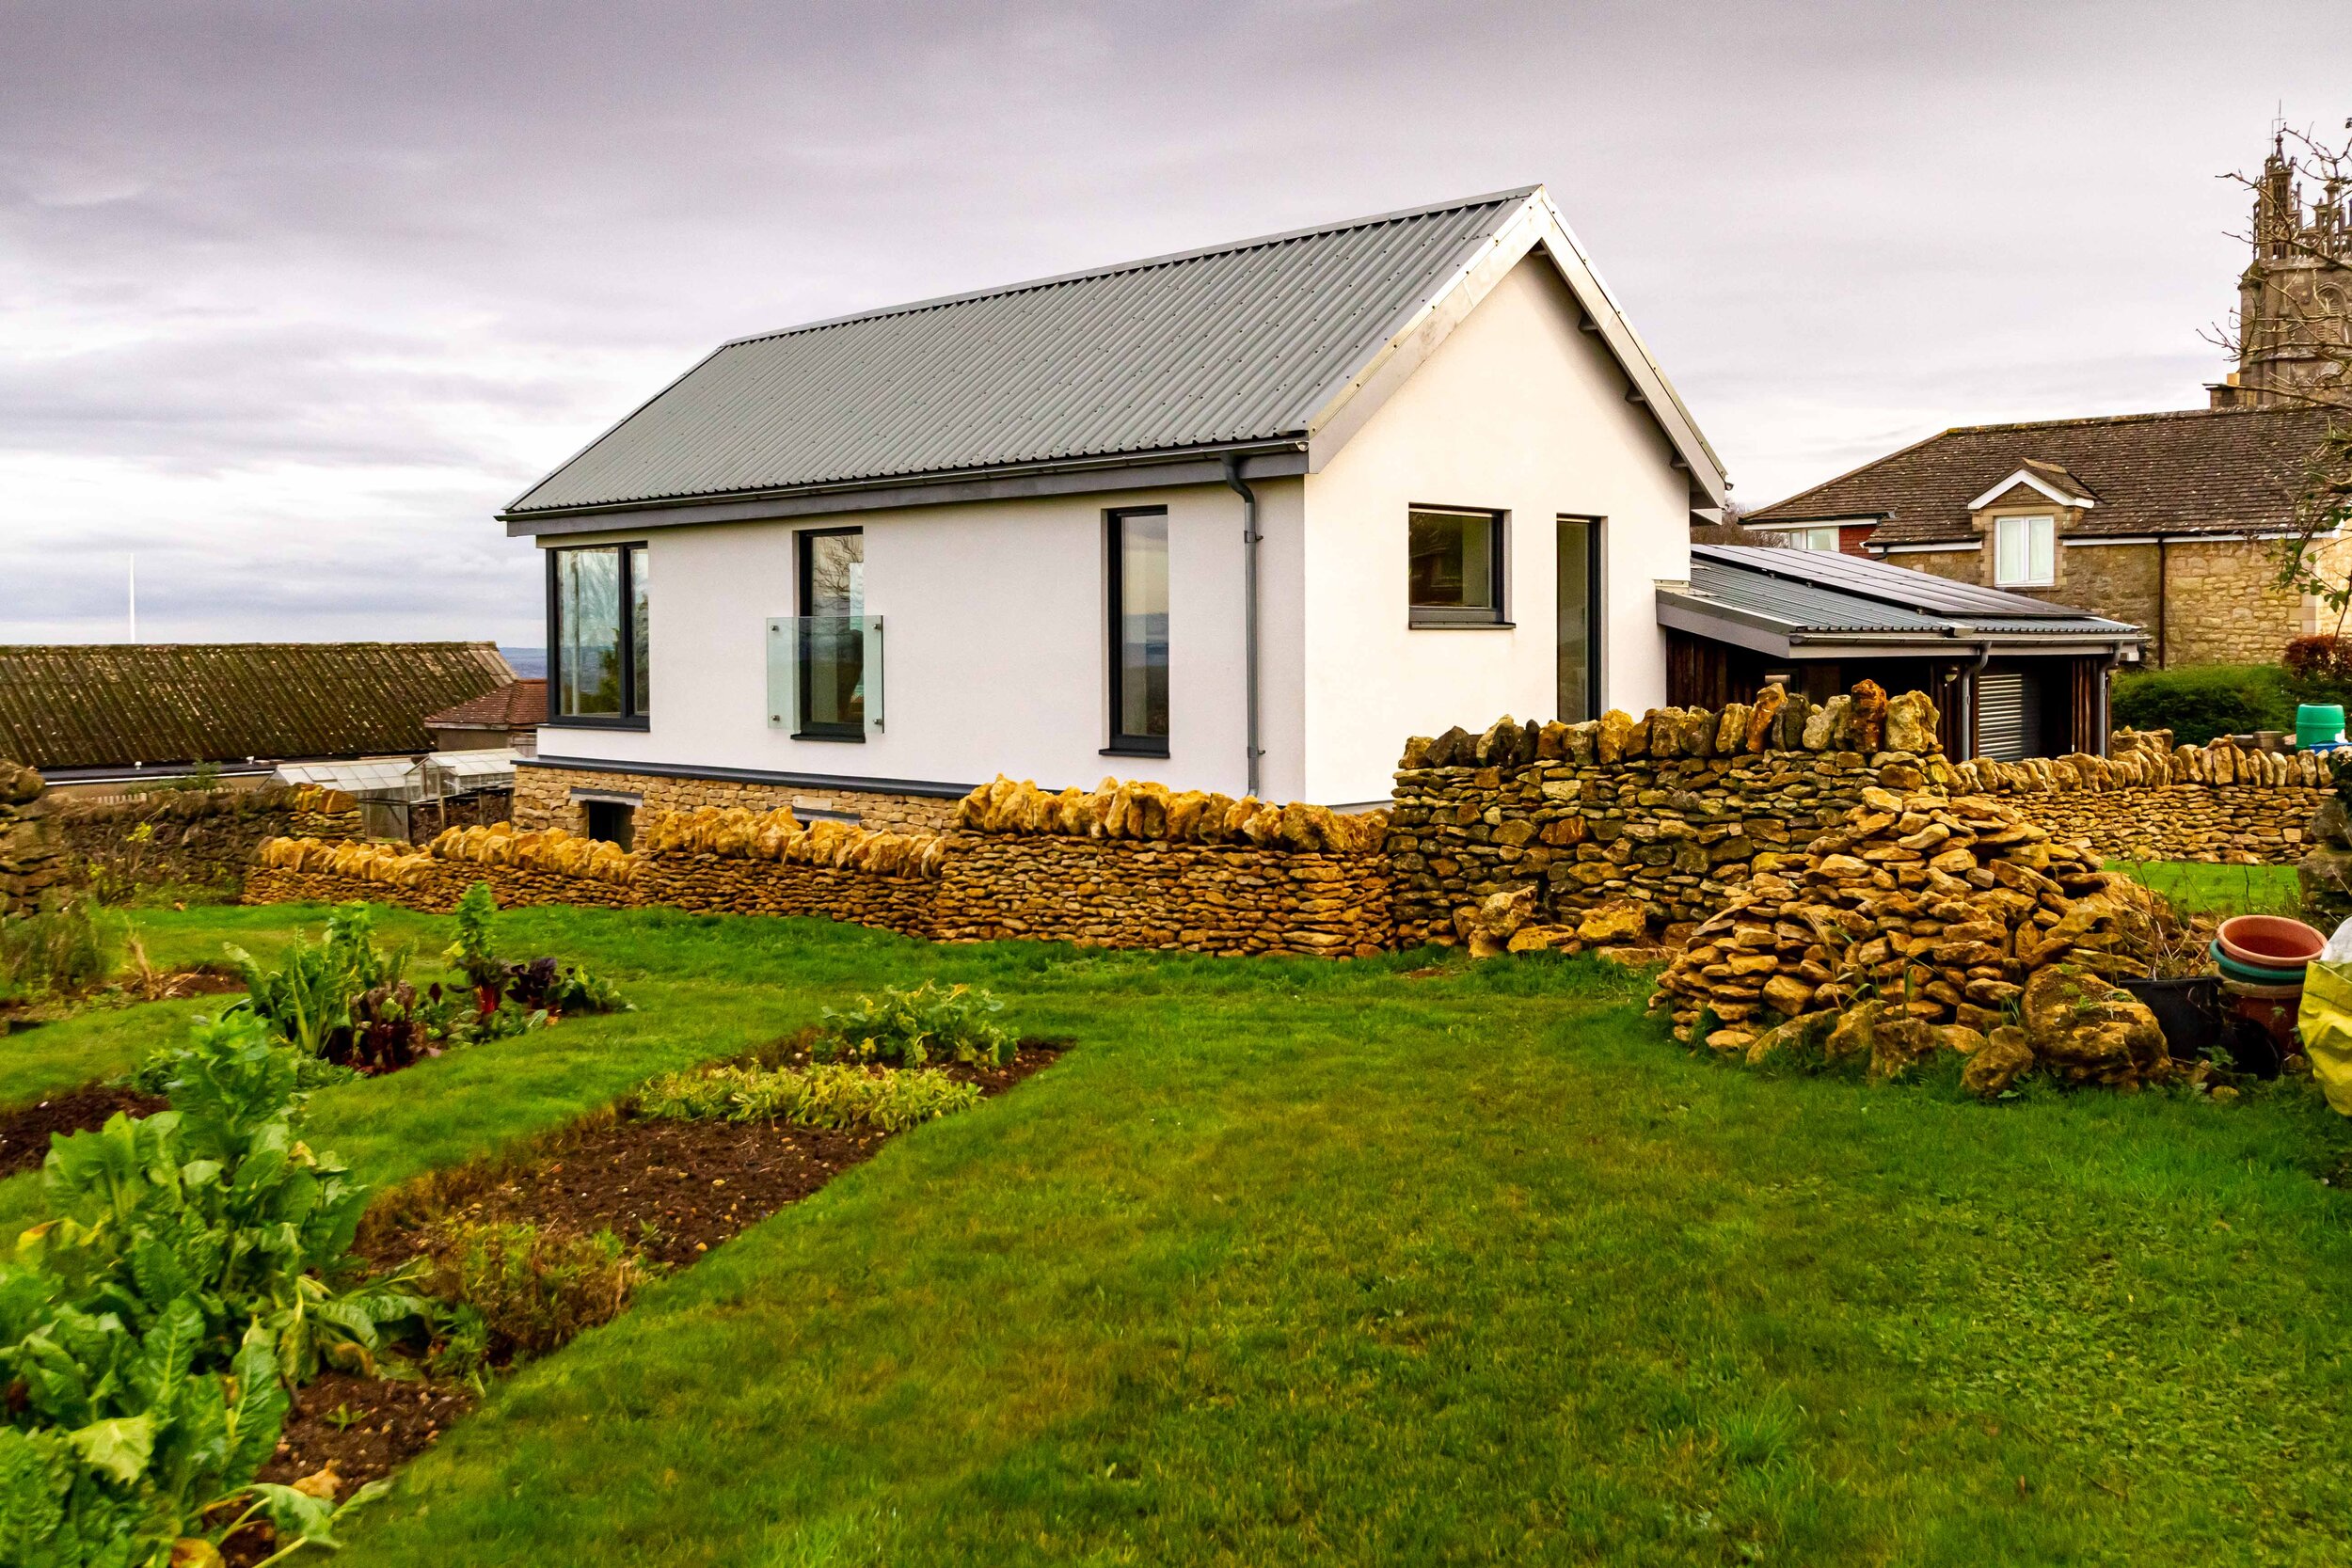
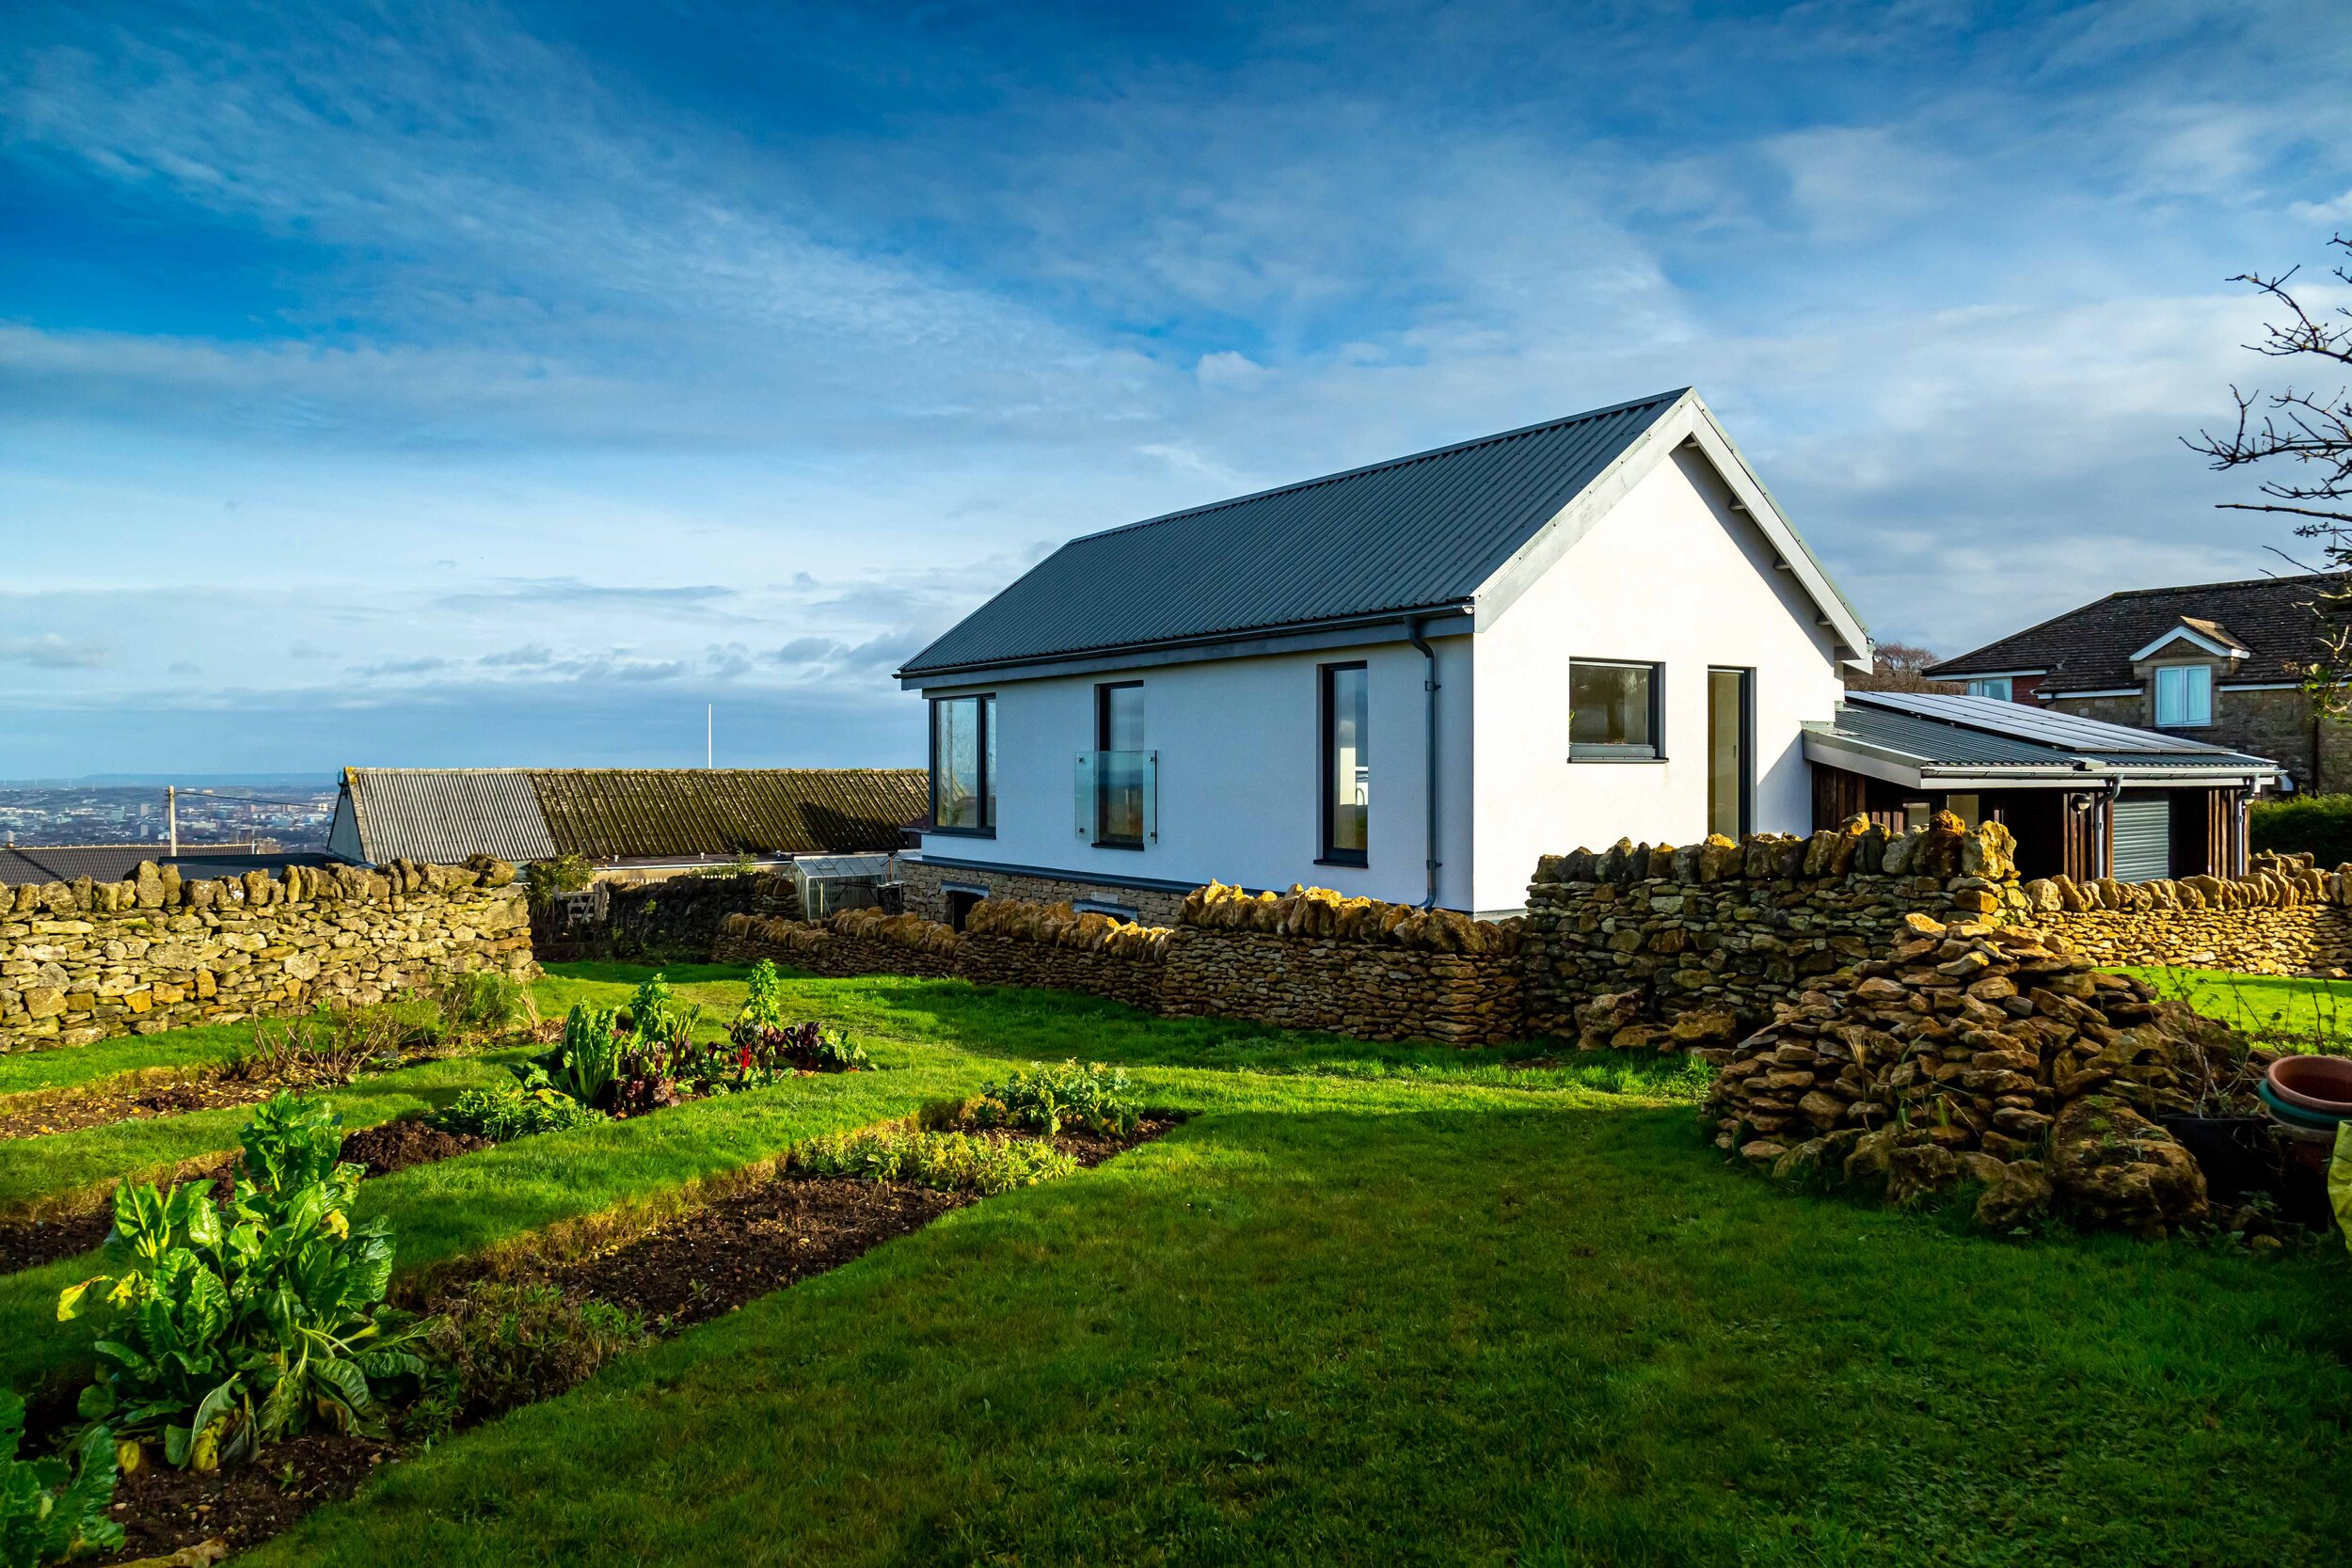
Some of the more physically demanding work was the dry-stone render on the bottom half of the house. It took the two of us 6 months to do but we think the results are amazing and worth all the hard work.
Living on site in the remaining half of the old bungalow really helped save money and time. It meant we knew the site was secure and we were never caught out with an early delivery or left hanging around at the end of a day. Also, in the evenings when I was ordering materials, I could pop back into the site to double check dimensions if I needed to. There was no commute in the morning, or at lunch time and on days when things were going well it was easy to keep going.
How has living in a Passivhaus standard dwelling affected the quality of your life? Have you experienced a significant reduction in your energy bills?
To be honest it is very much what we were expecting – but I think that is because we had done a lot of research. A real positive is living in a house that is draft-free, it is hard to describe what it’s like to open a window and nothing happening. If we want to get the outside air in, on say a lovely sunny day, you need to open two windows otherwise nothing happens! It is a very strange experience.
We live close to Bristol Airport and have noticed less noise from the planes. We were worried the metal roof would have been noisy when it rained, especially with a vaulted ceiling inside, but it’s so well insulated, it has not been a problem.
Our energy bills have dropped by about 70% from the old house that was on site. Having 4.5KW of solar PV panels on the roof has significantly reduced our electricity use. We have also made some other adjustments of how we live to maximise the use of the PV when we are generated, like putting the dishwasher on in the morning rather than after dinner and doing an extra load of washing on sunny days.
Our hot water from March to October is heated by the PV panels and the house requires no heating over this period, so that is a great time of year for us. For the winter months, we have a log burner in the garage that heats a large thermal mass which tops-up the remaining hot water and heat requirements. We light the log burner once every 5 days, but this depends on the weather. When we have sunny winter days the windows on the south side of the house provide some amazing heat gain and the PV panels will also generate.
The other bill that we have seen drop has been our water bill. We decided to invest in a rainwater harvesting system and bury a 3,000-litre tank below ground. This tank serves the toilets and washing machine. It was a big upfront investment, but we felt it was easier to do from the start when we already had diggers on site than to try to retrofit in the future. Currently we are estimating about a 50% saving on our water usage.
Condensation was a real issue in our old house having to use the “window vac” every morning to clear the glass on the inside. Now we have a different condensation issue, in certain weather conditions it is on the outside as the glazing is so well insulated.
Another area where we have noticed a difference is in the bathrooms. Its lovely not having extractor fans running all the time to clear the steam and there is no mould build up, even on an internal bathroom. The MVHR monitors the moisture in the air as it extracts and just boosts the ventilation as and when required. This means all the condensations in the bathroom clears a lot quicker.
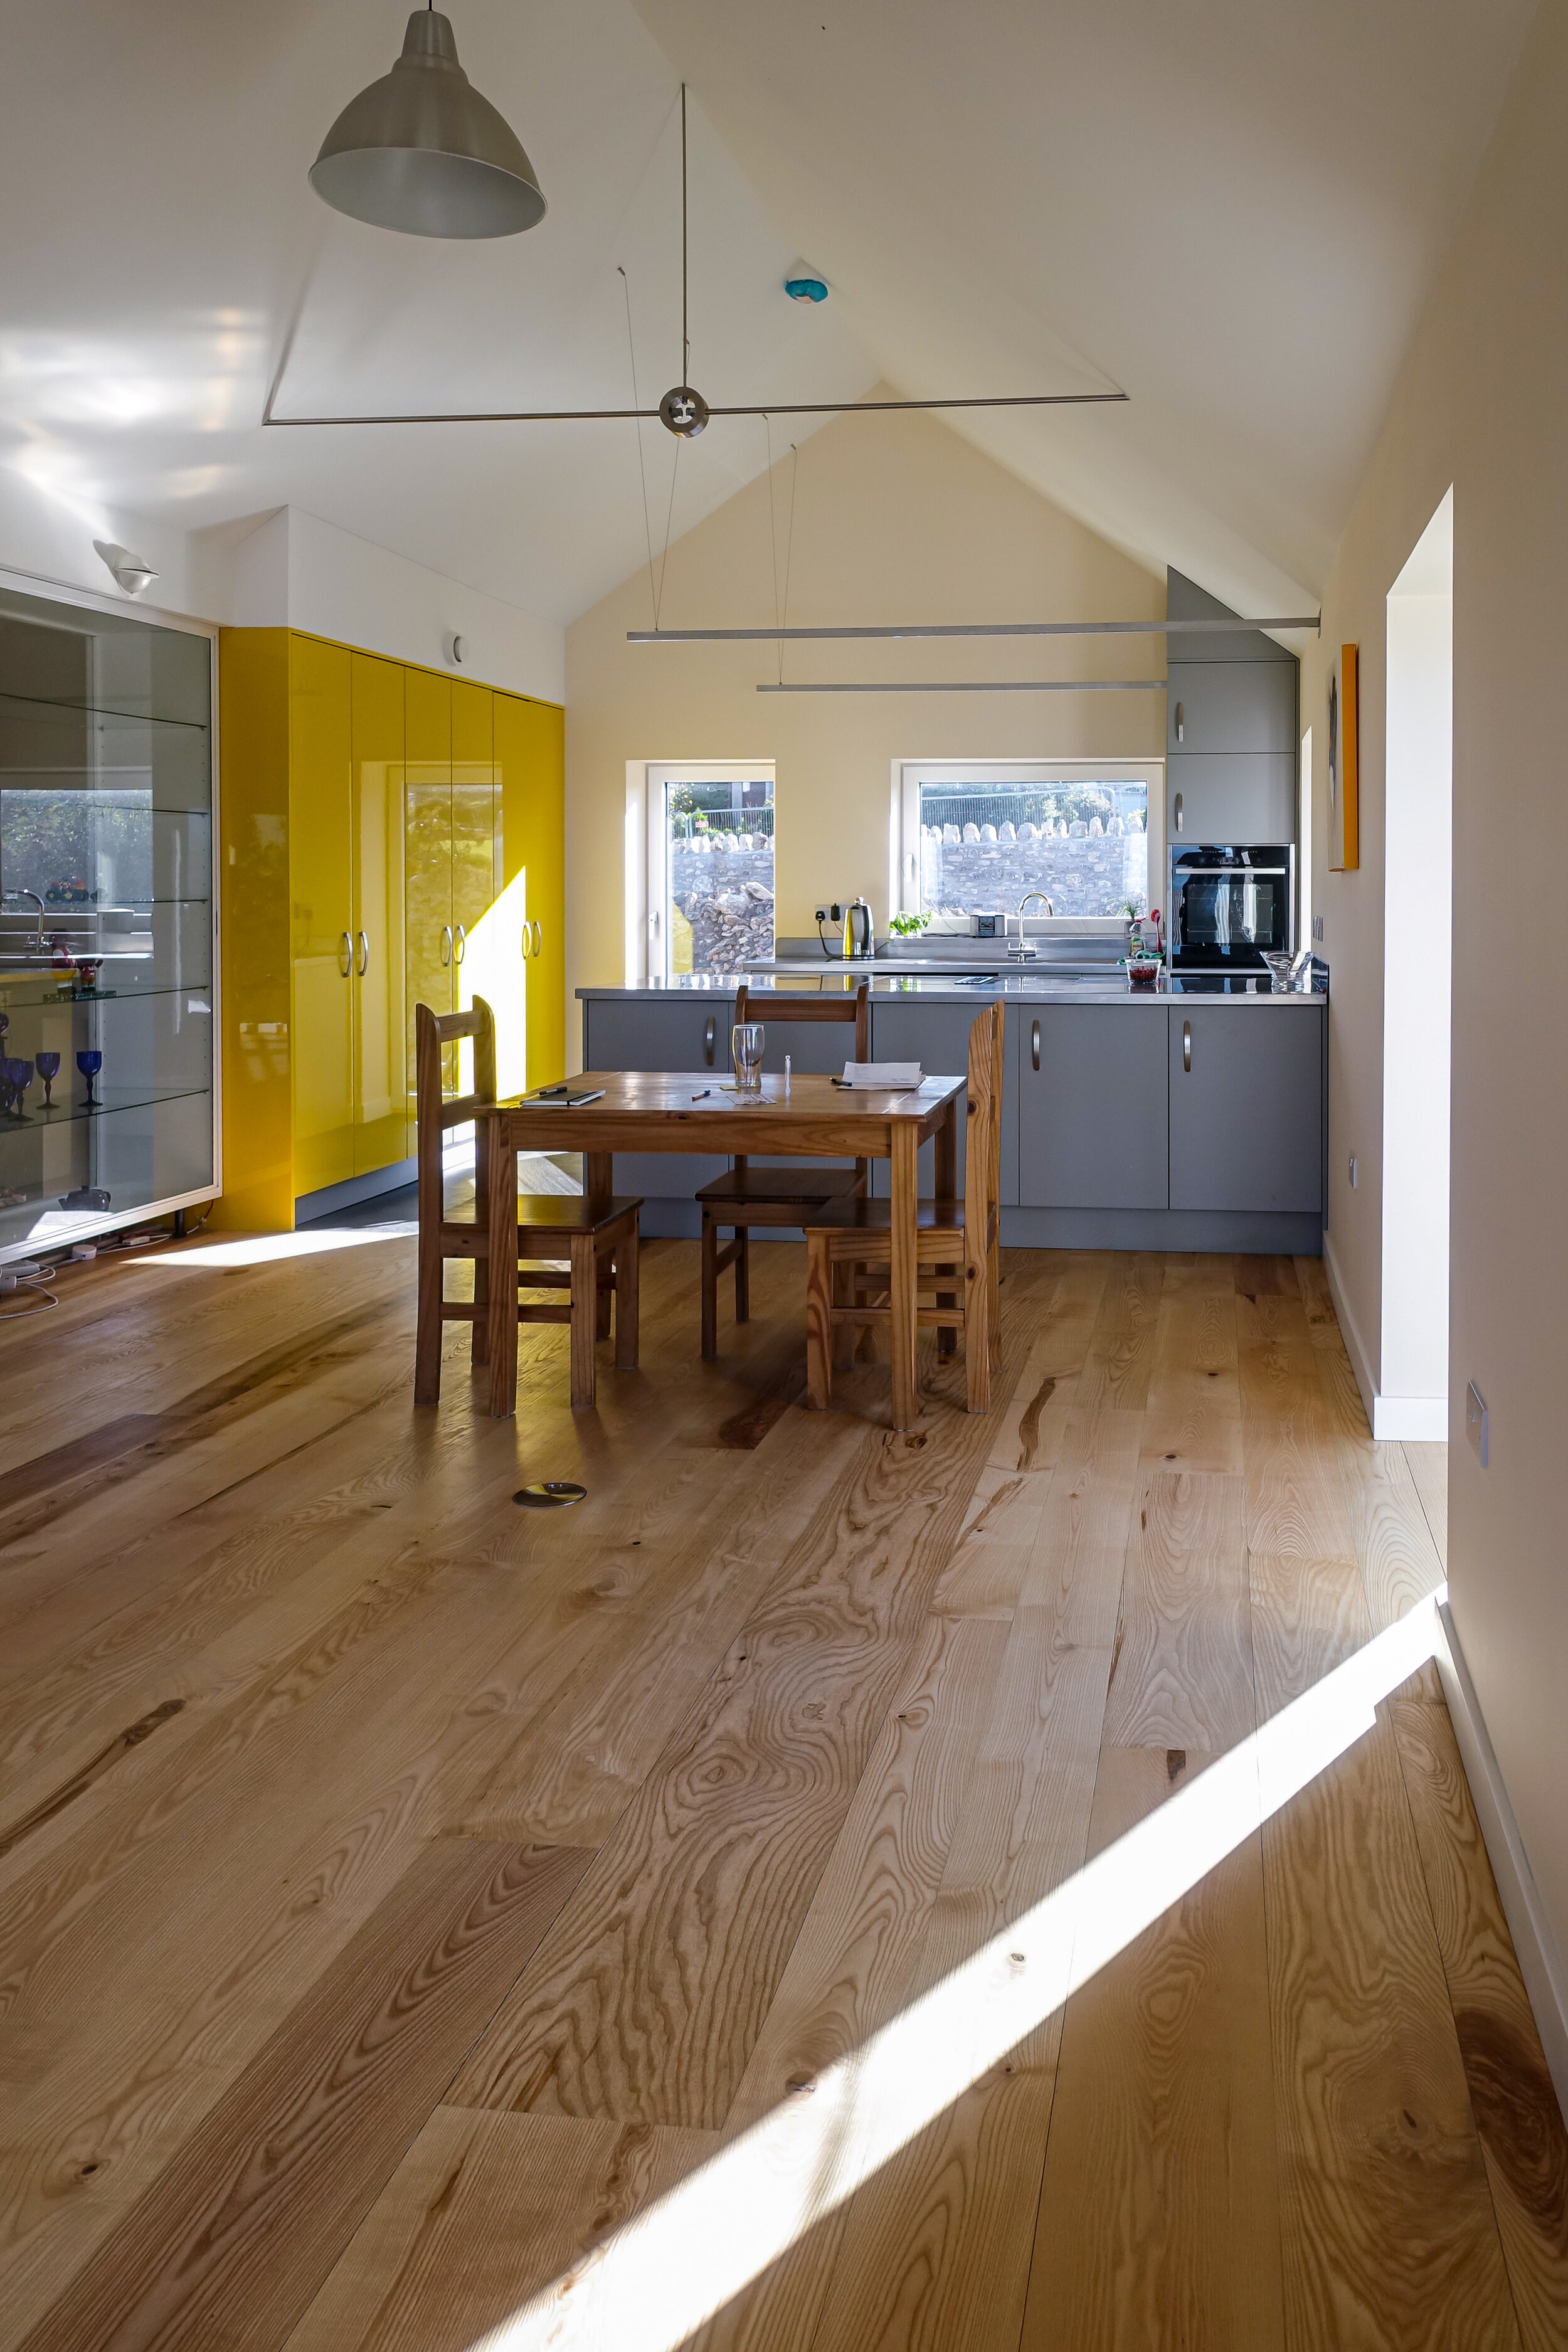
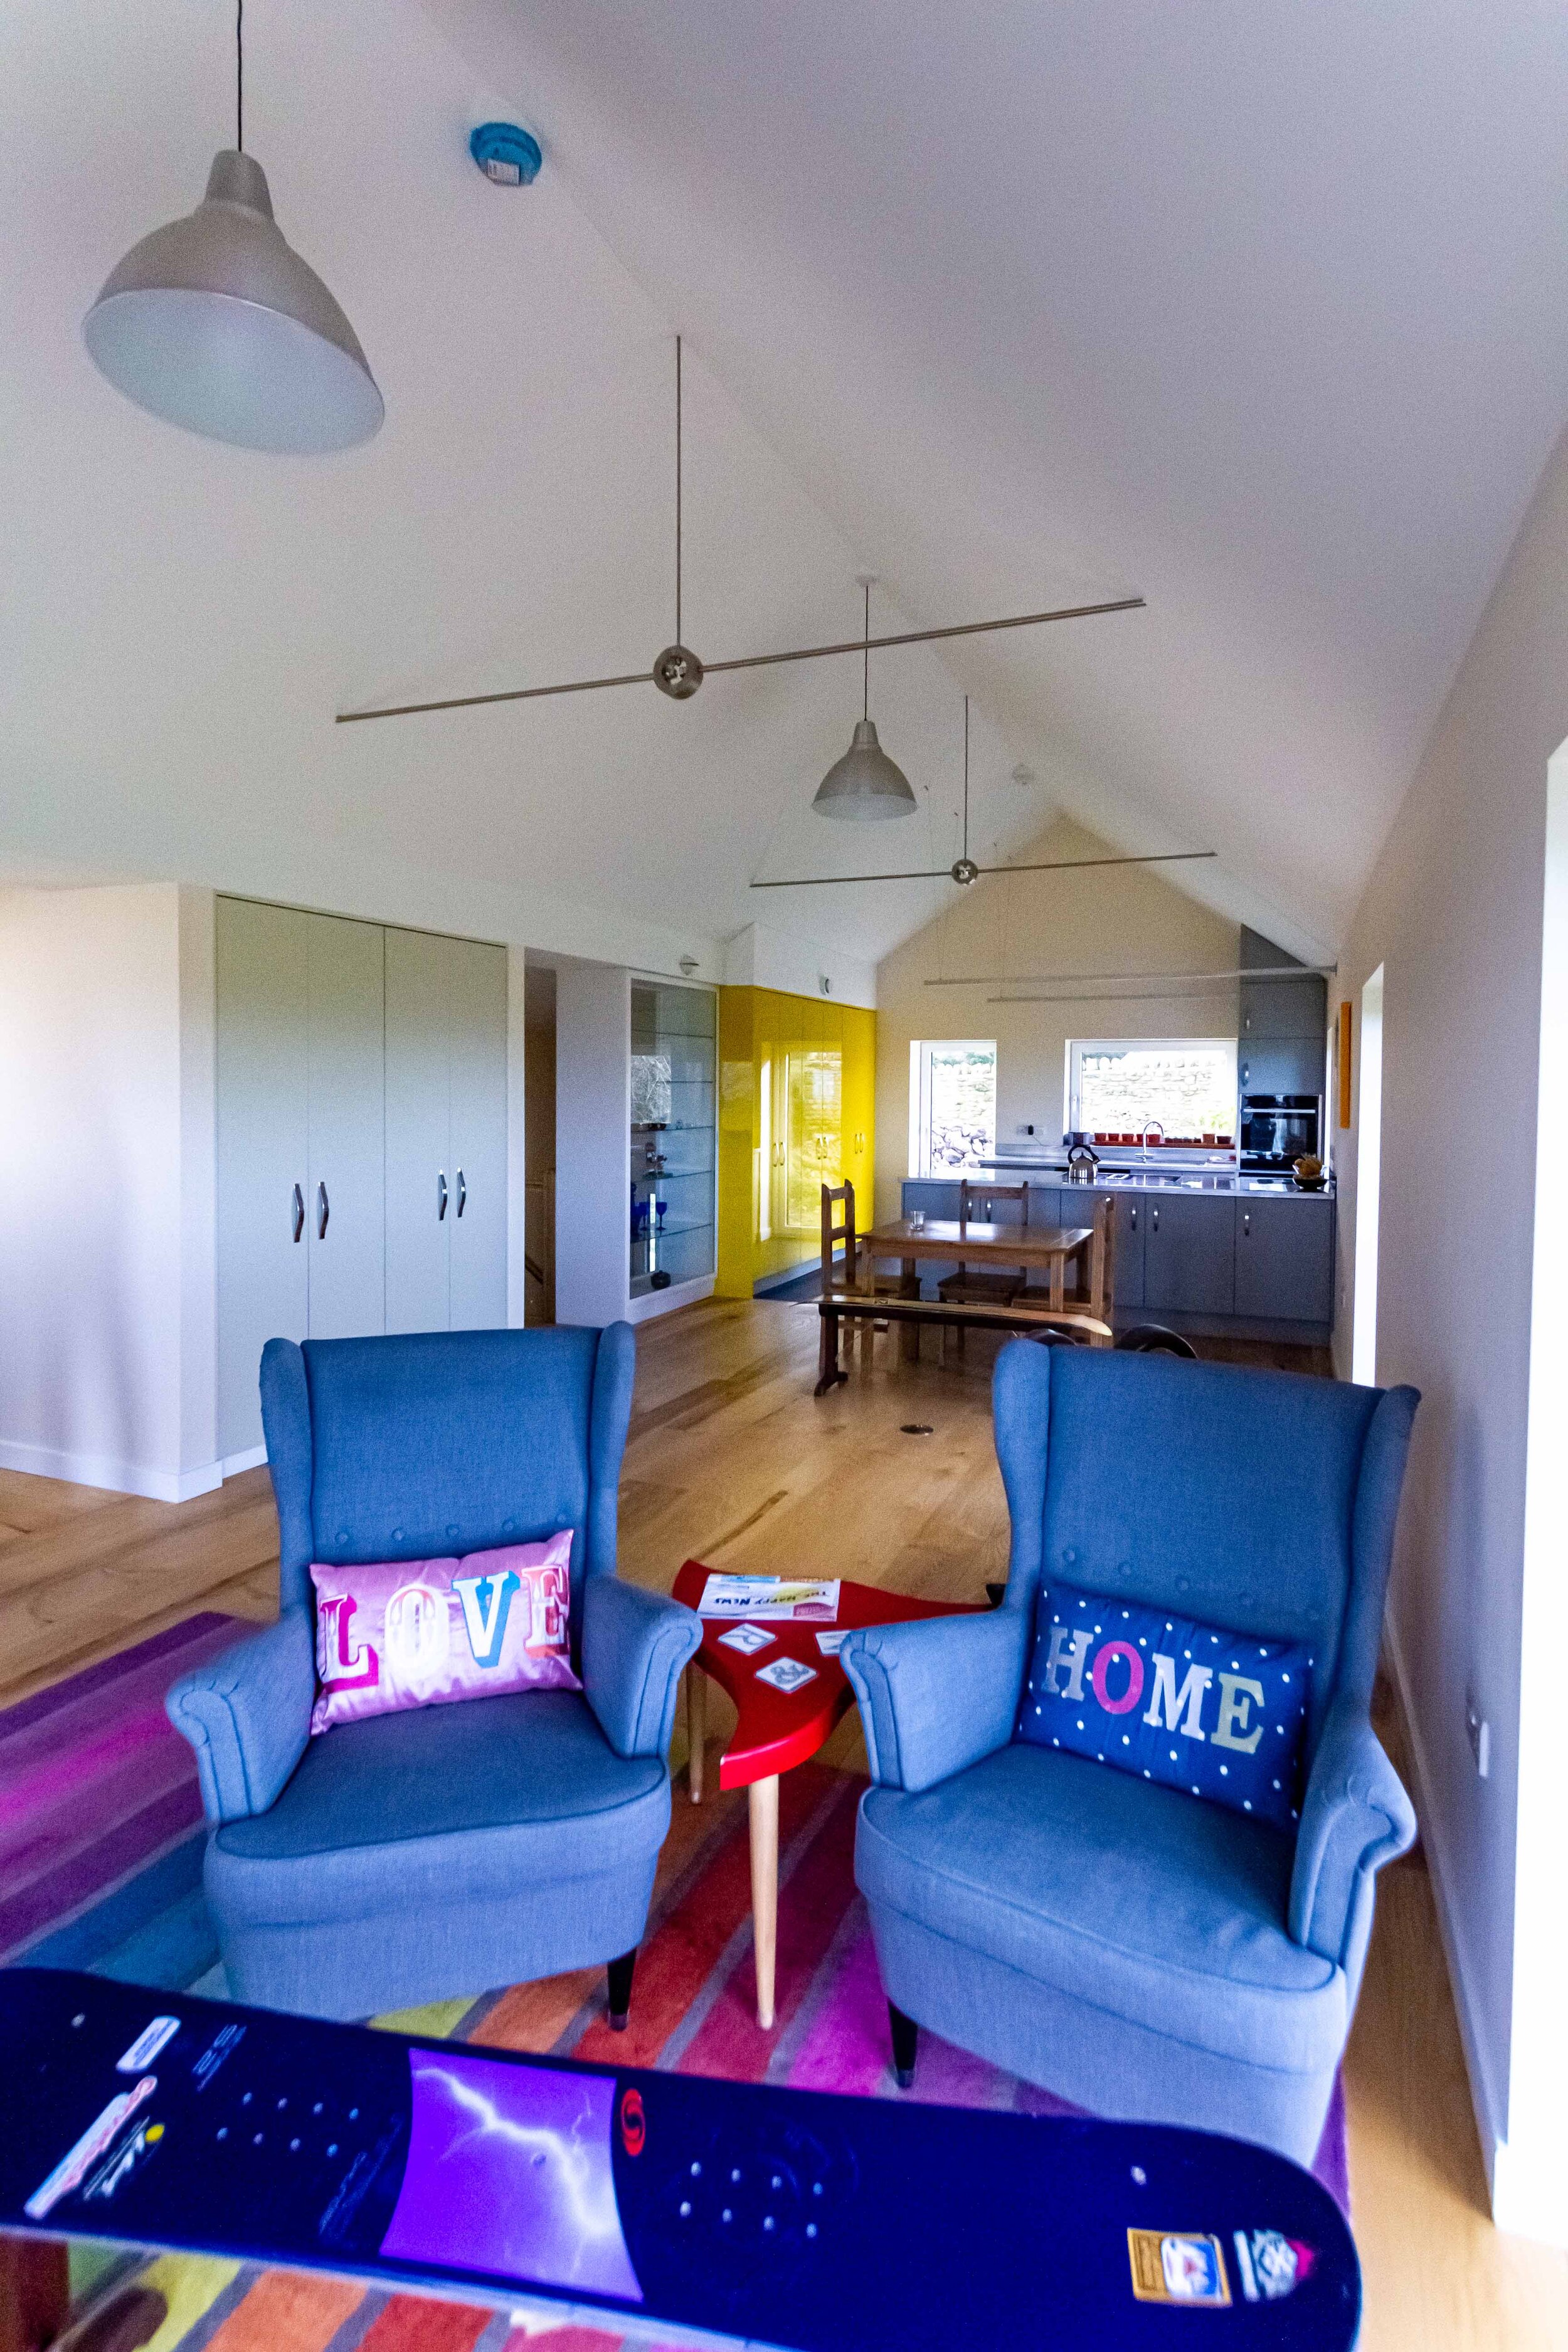
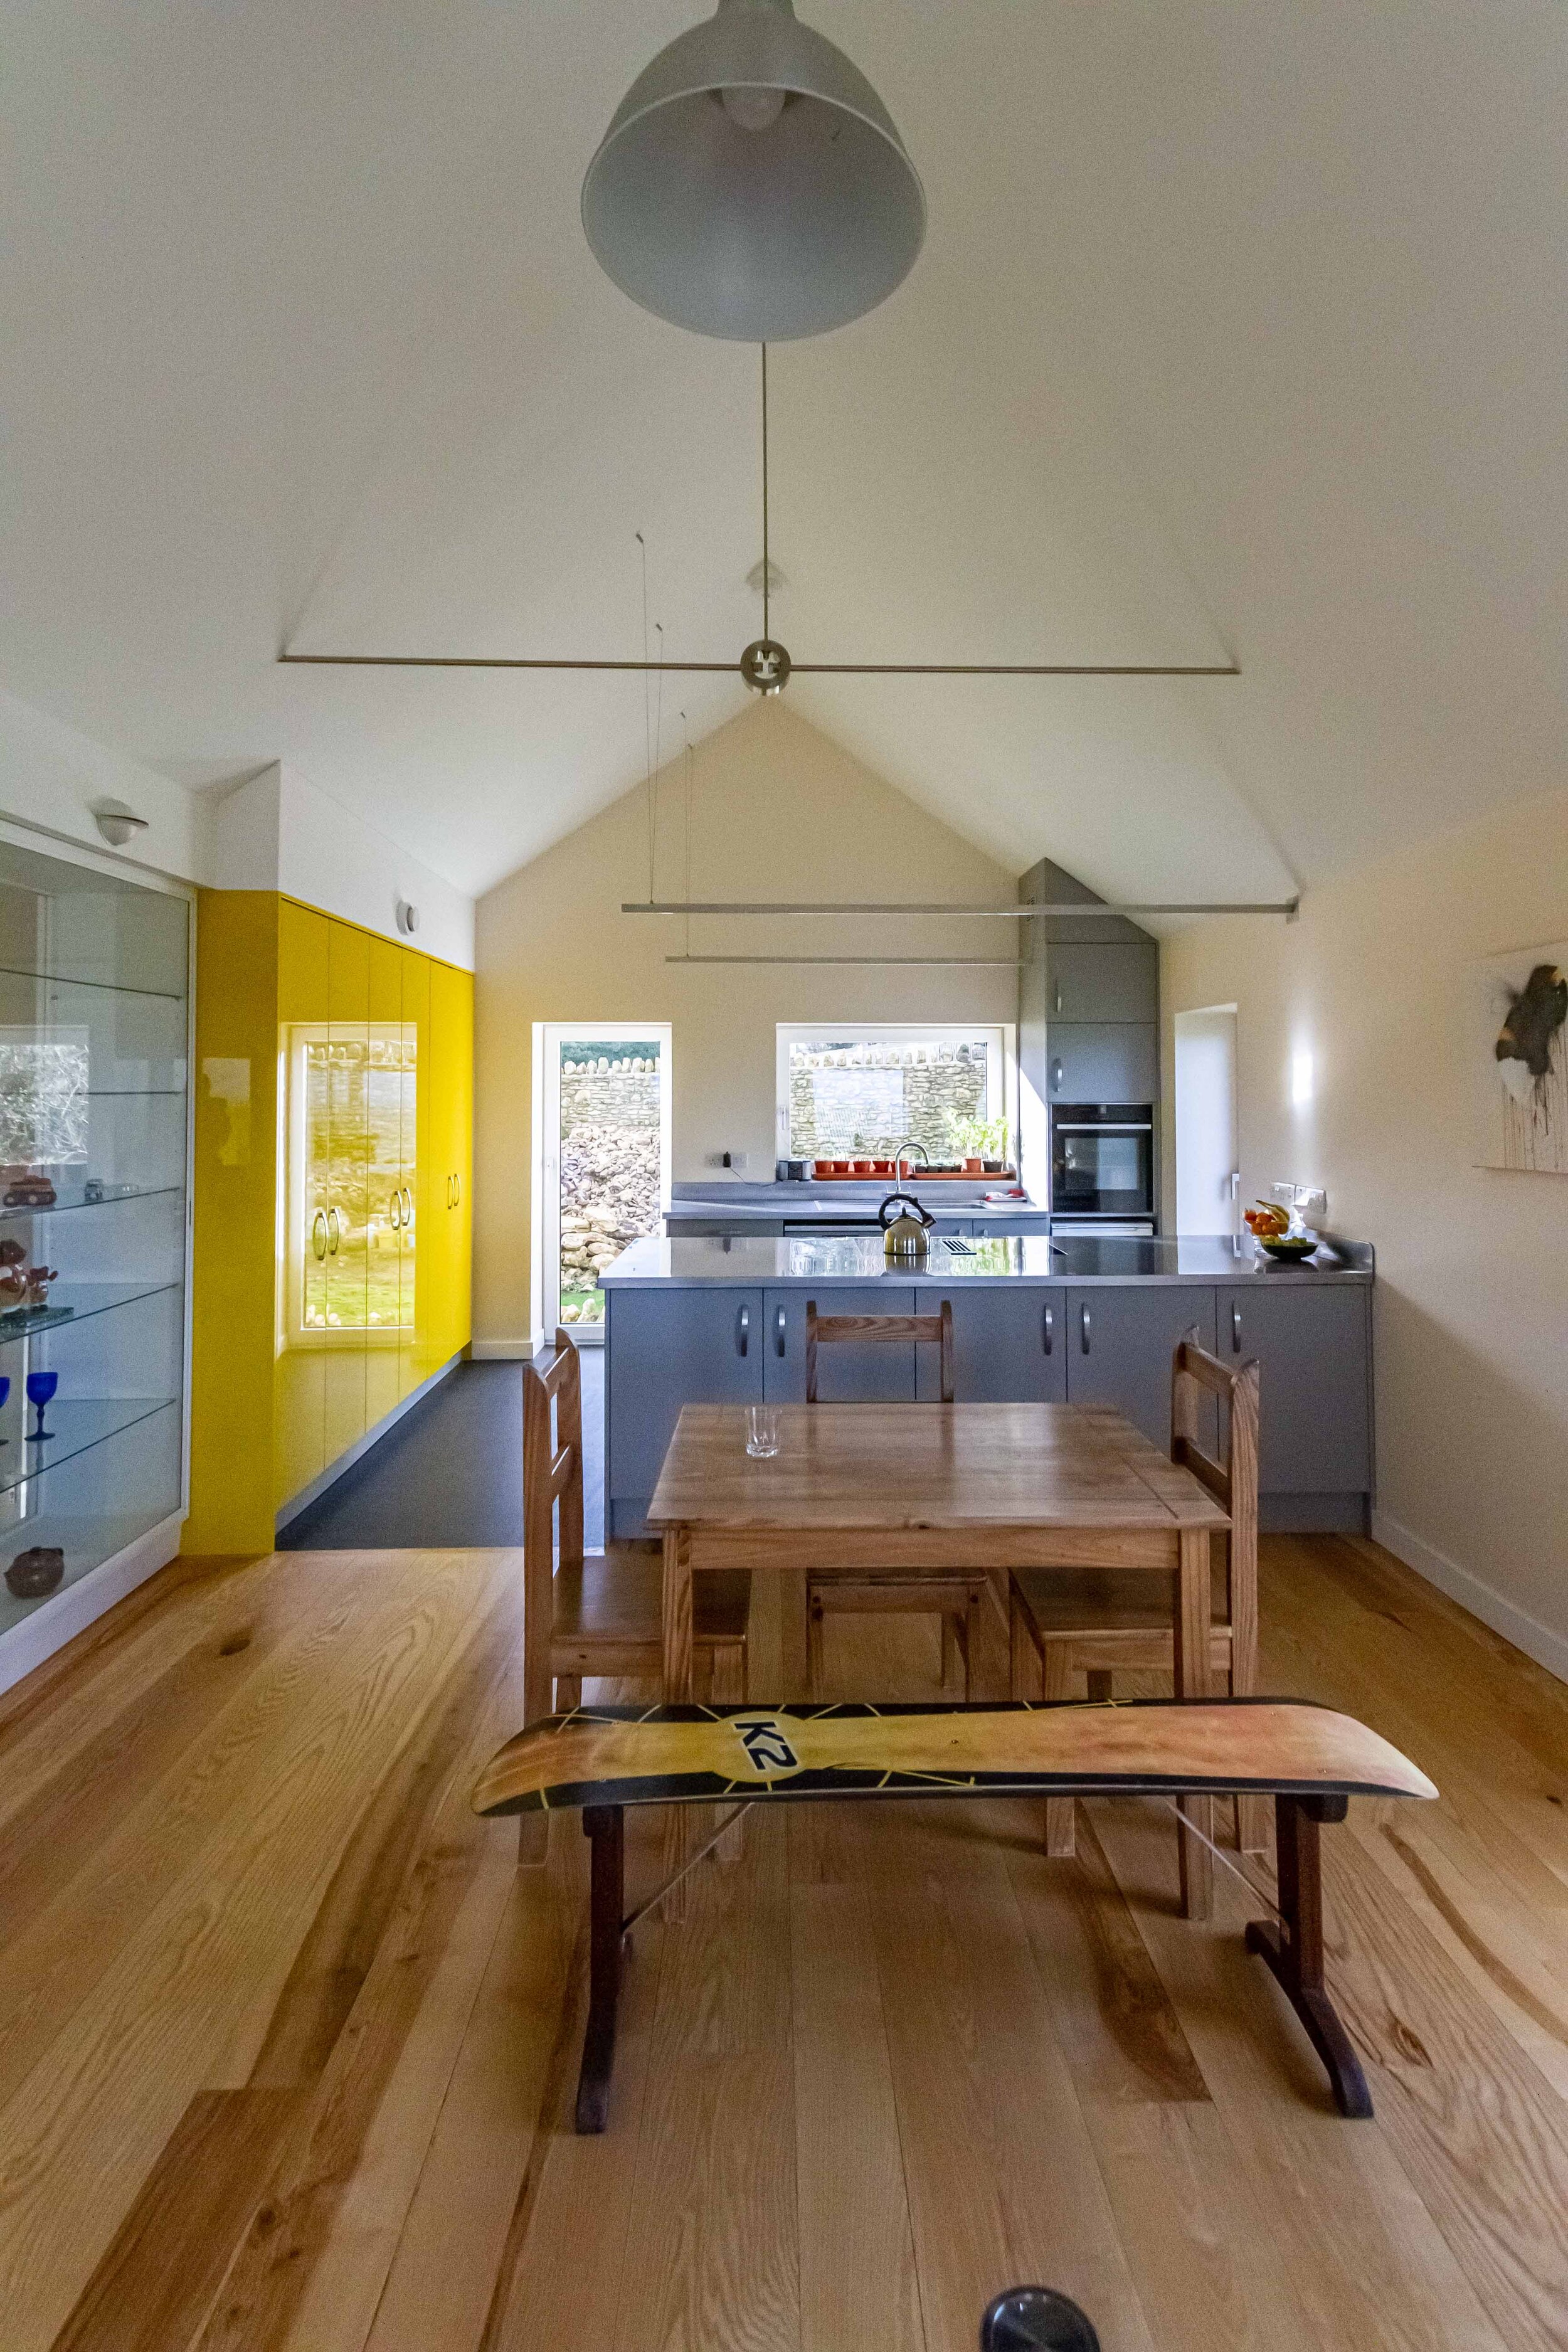
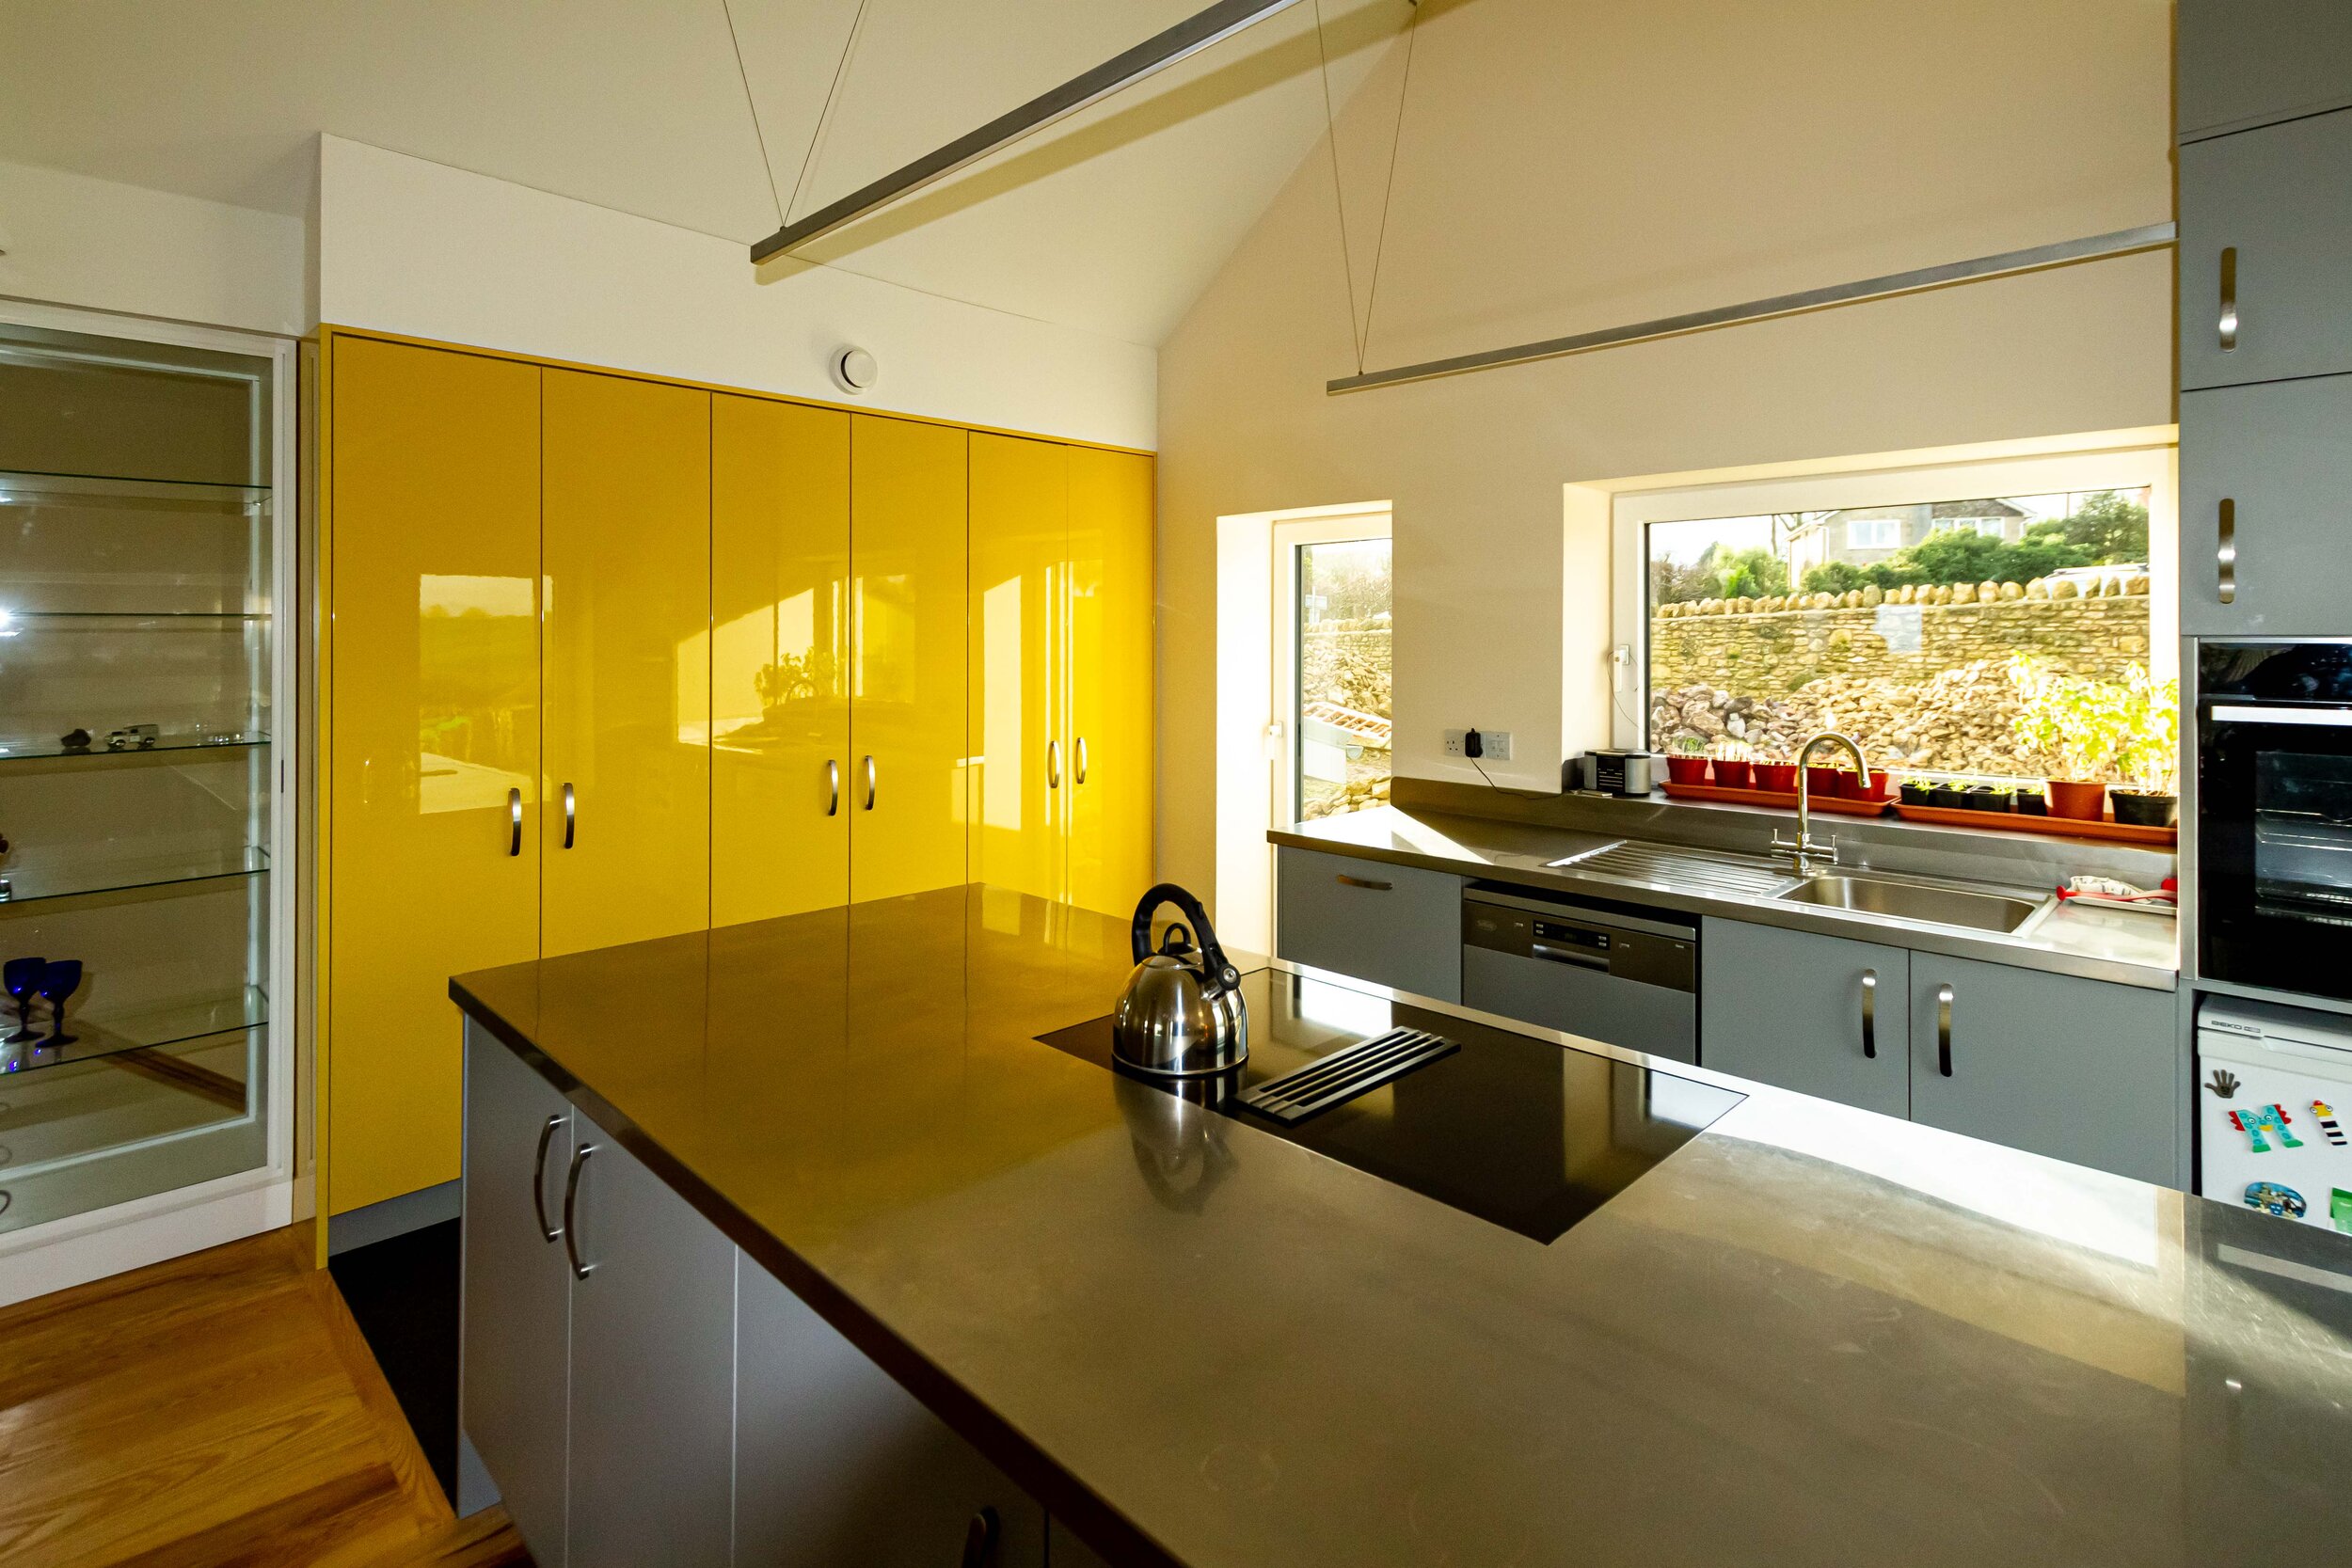
It is amazing to have a large open plan living, dining and kitchen area upstairs, which is always warm. To have such a large space warm all the time has been fantastic. Slightly cooler bedrooms downstairs is also a benefit of having ‘flipped’ our house from a traditional layout.
We are also able to confirm that MVHR units are not noisy, ours is located in a cupboard in the middle of the house and we do not hear it. Do not be put off by MVHR units, when fitted right, without tight bends in the ventilation pipe and when well supported and fixed, they make no noise at all.
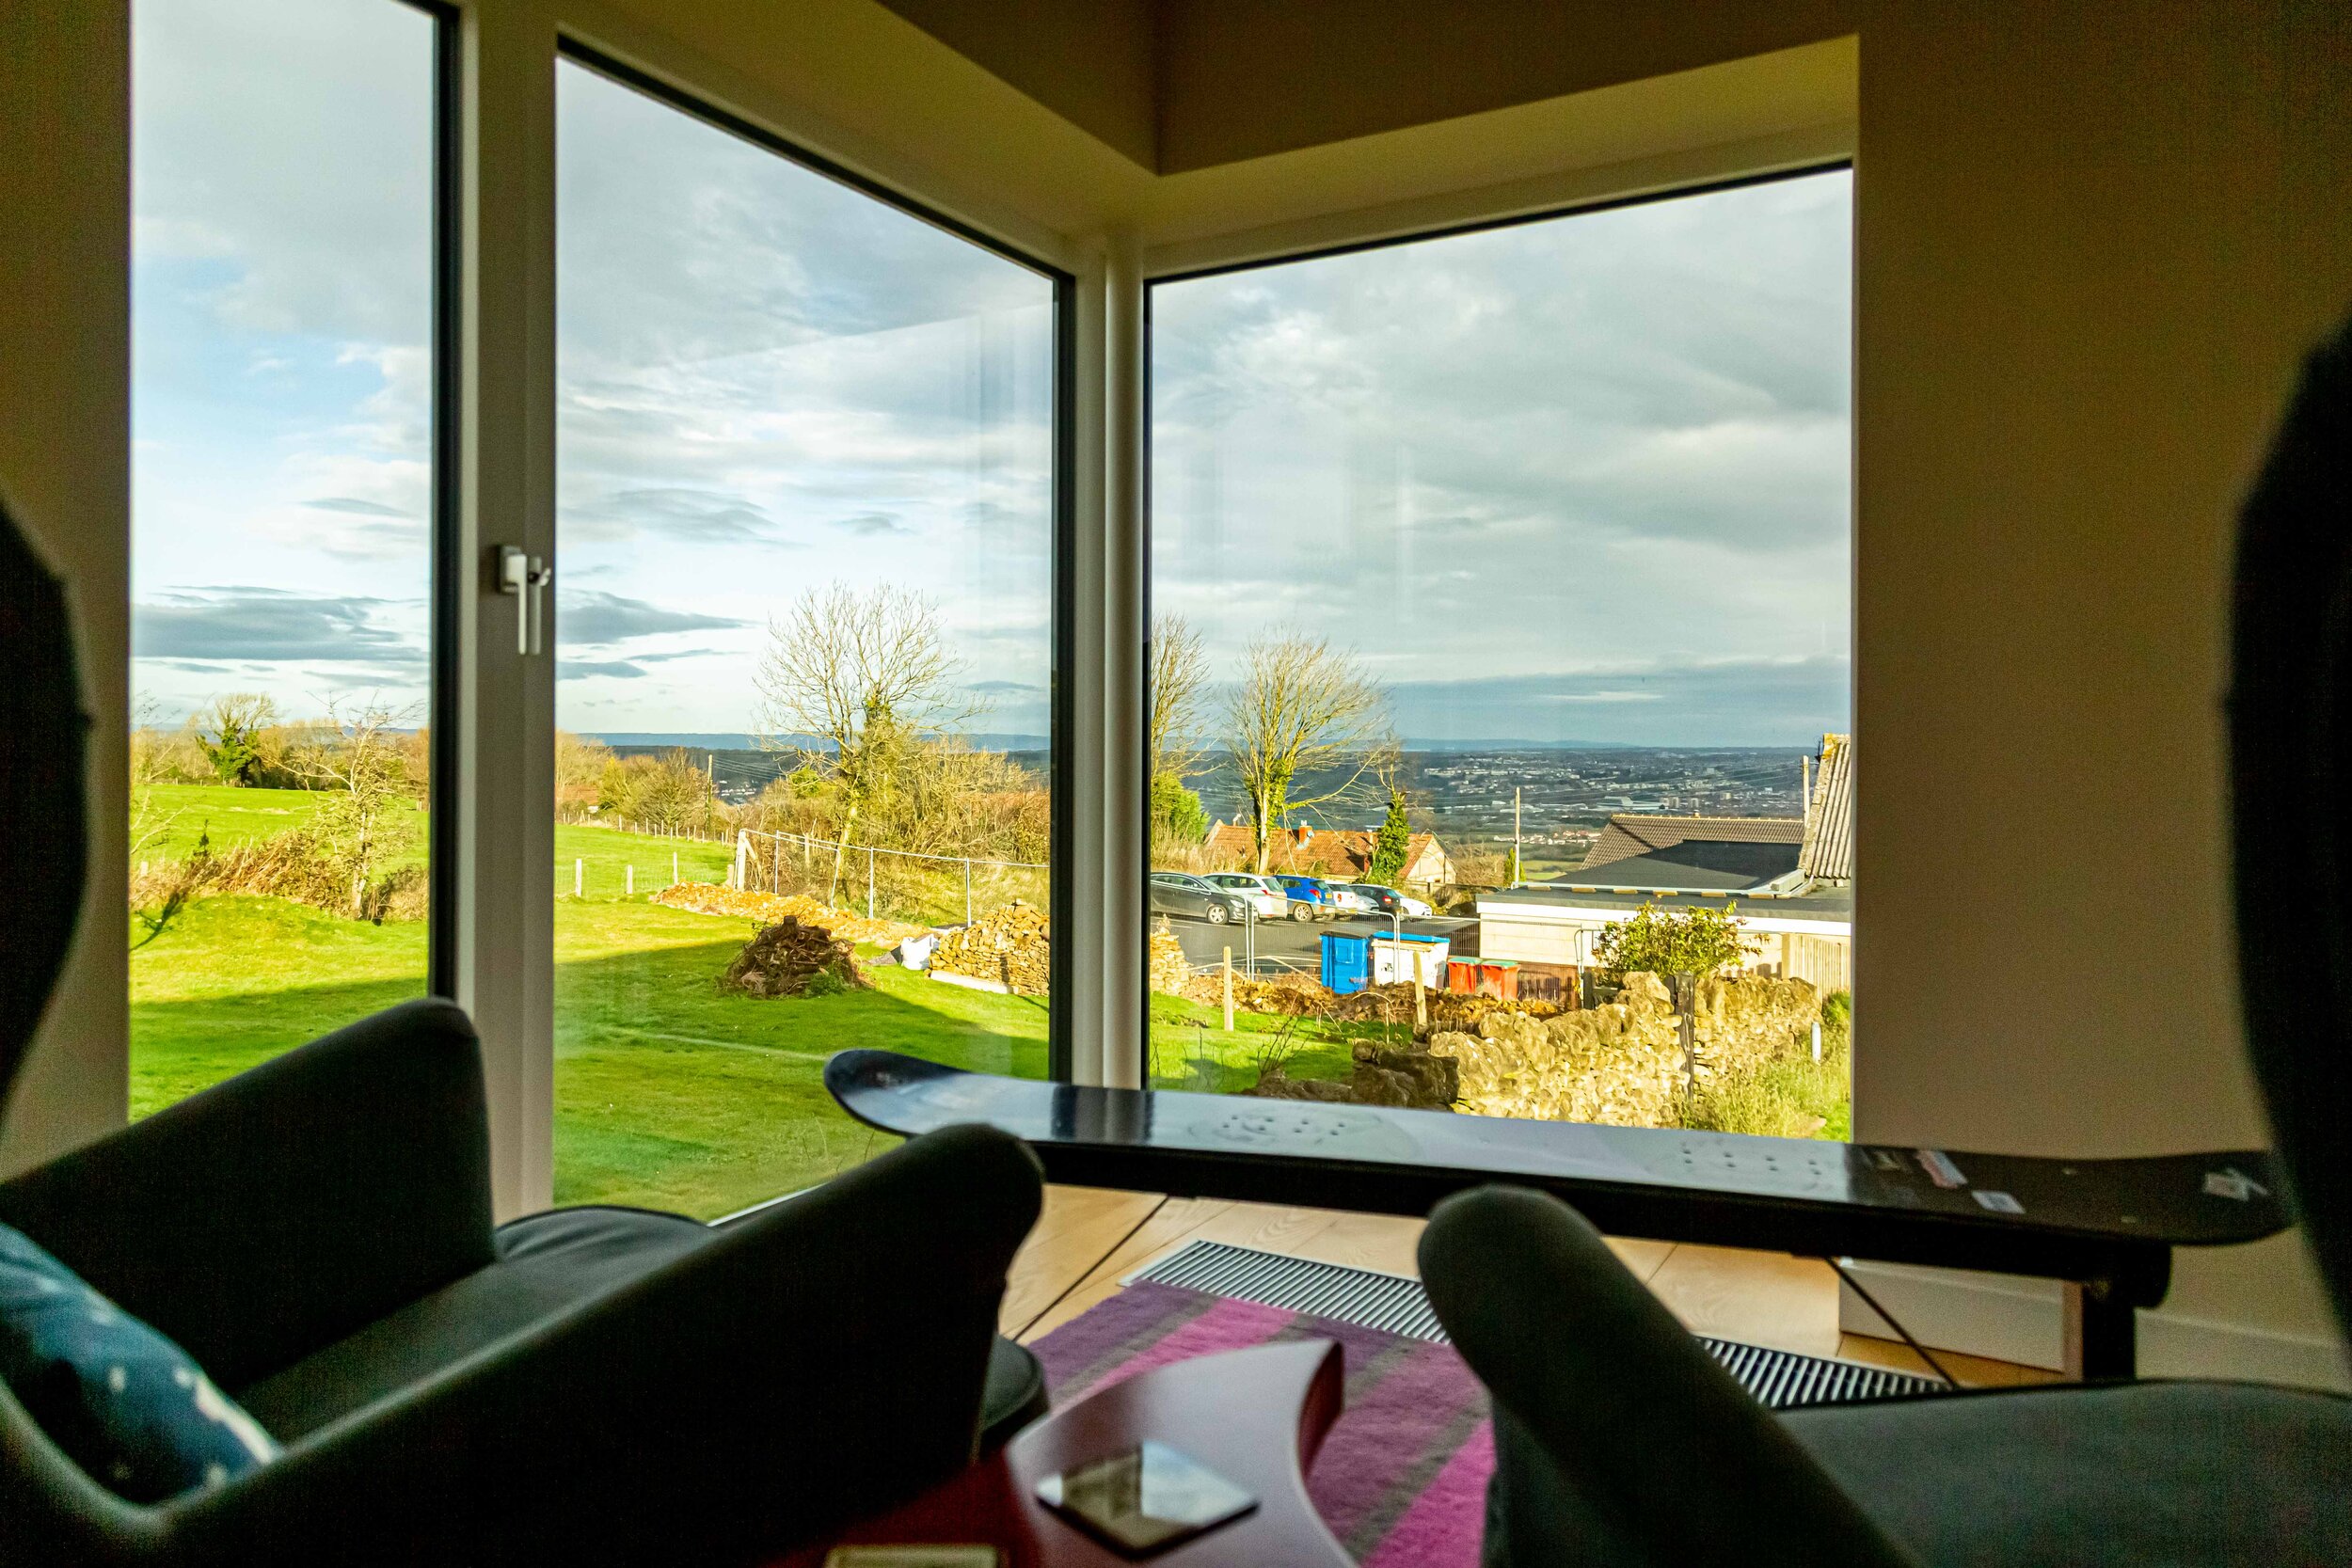
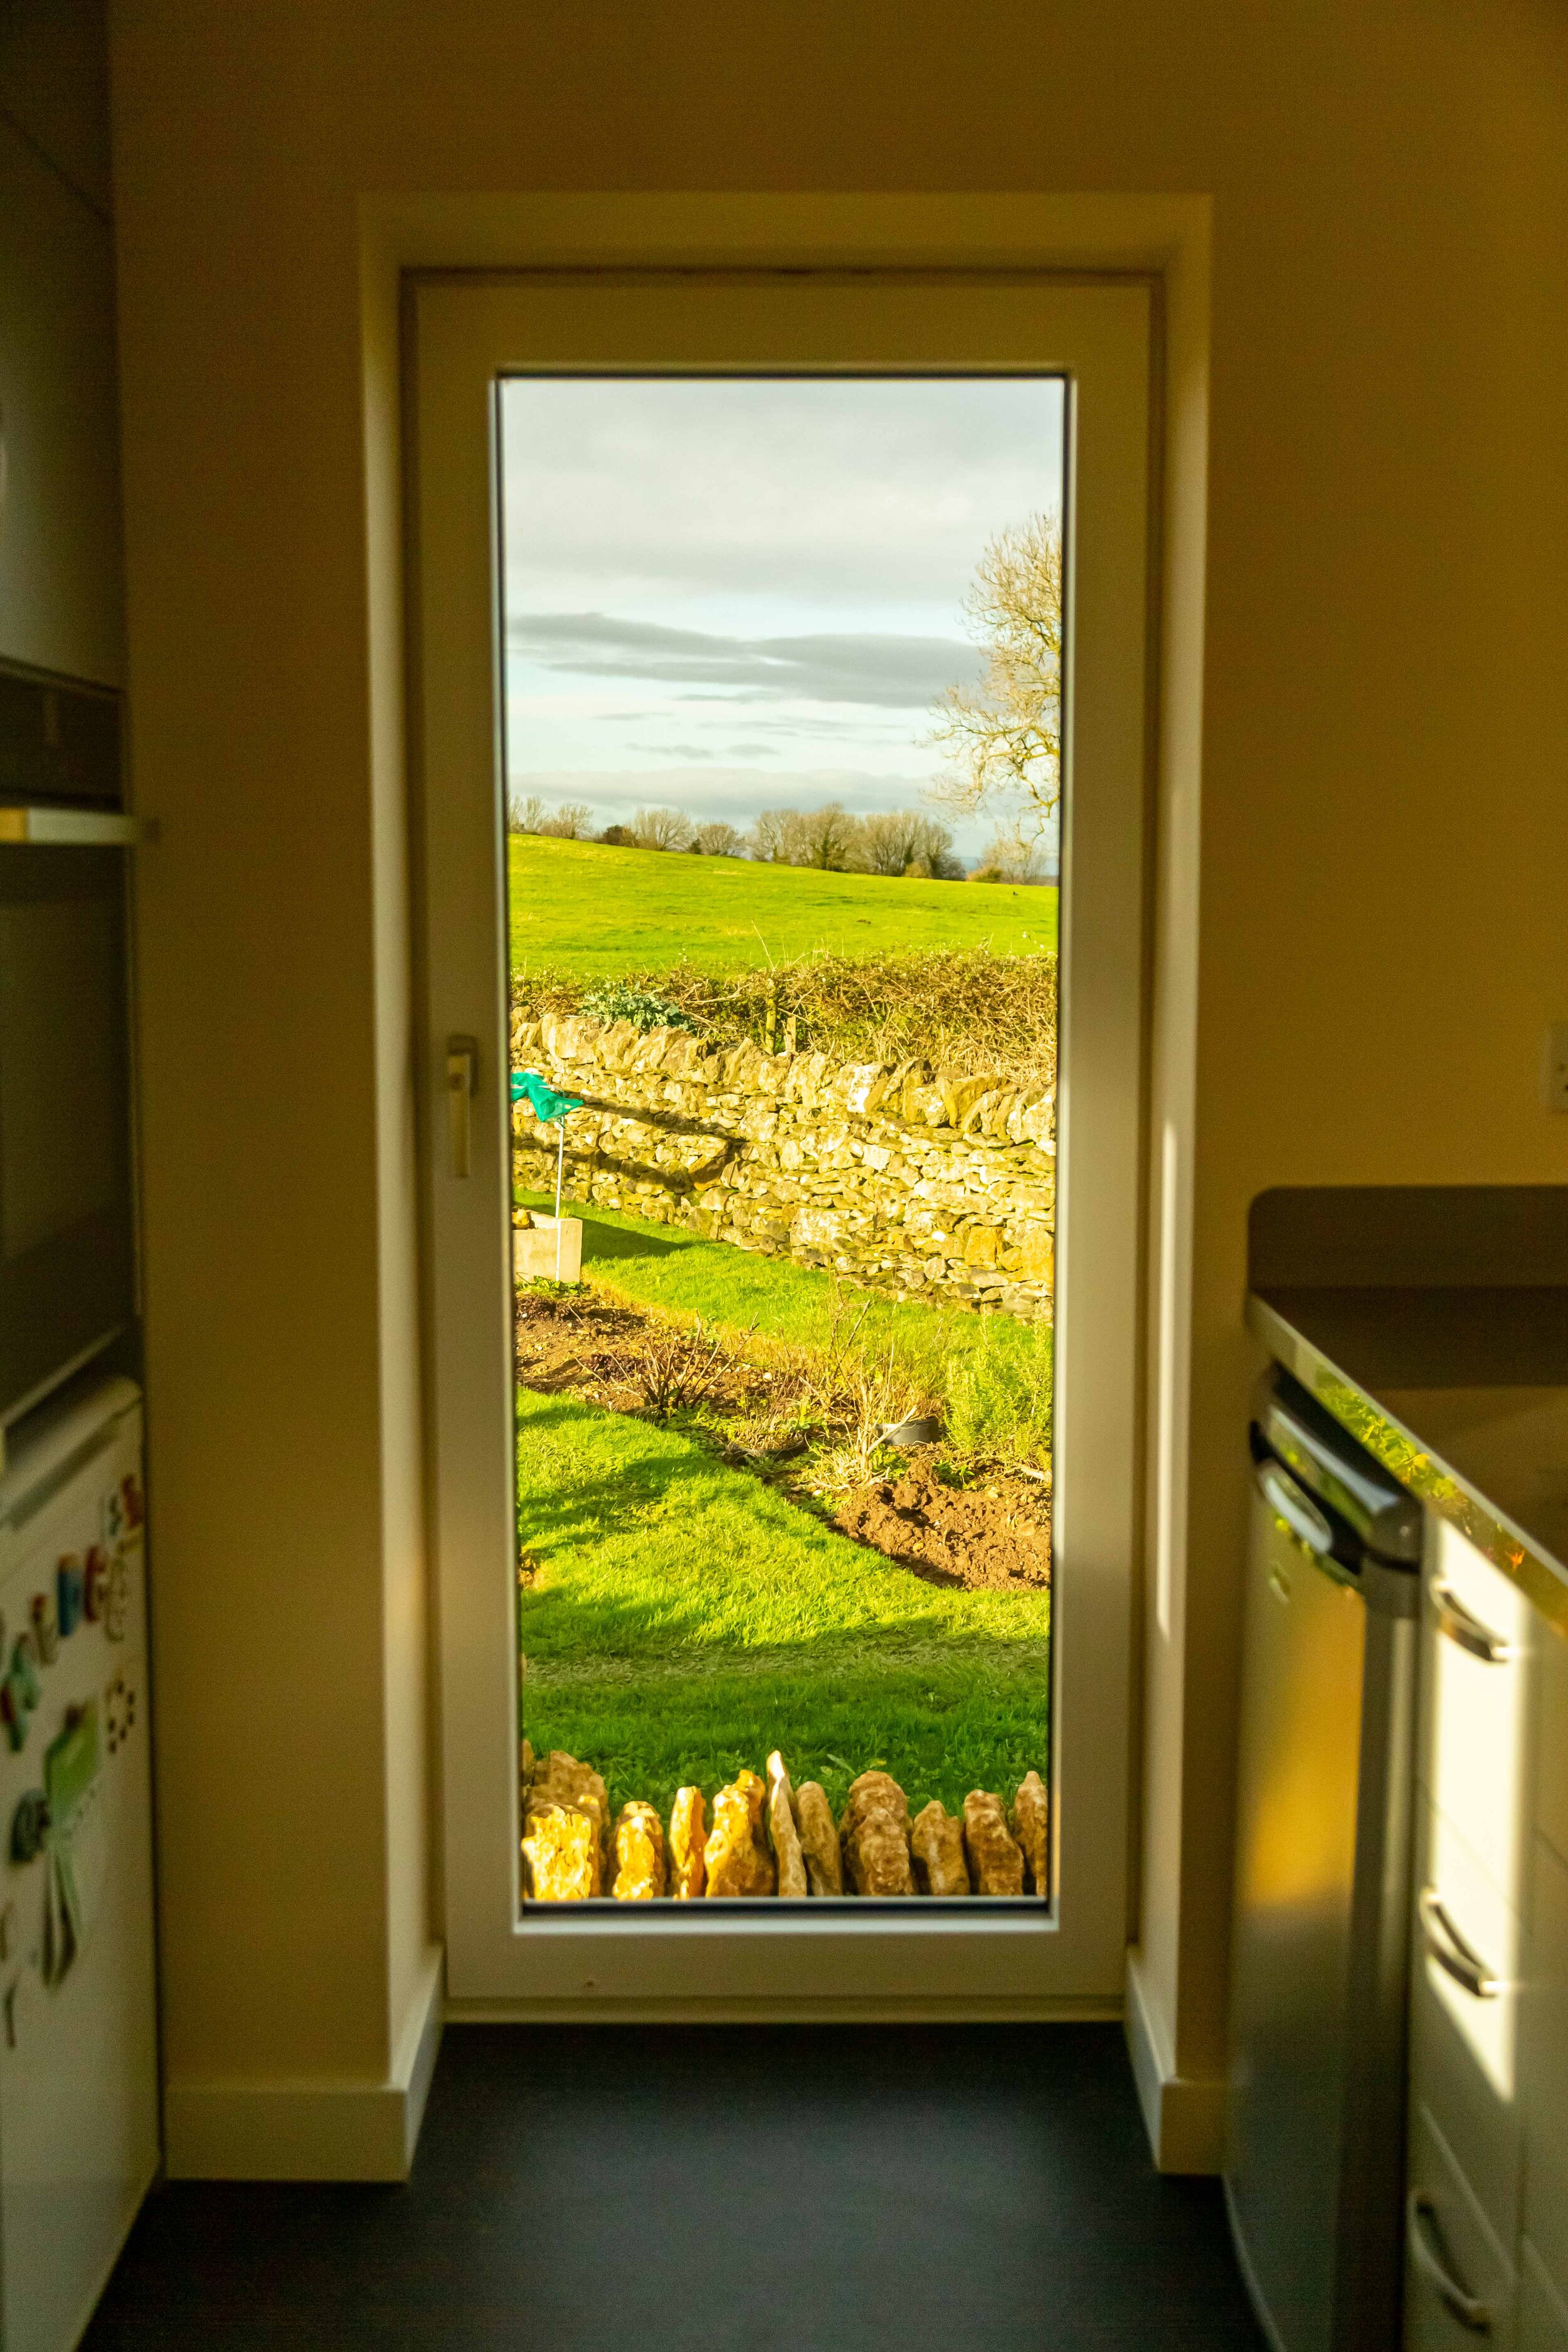
A slightly strange benefit of such a well insulated house is that the large windows aren’t cold spots, so you have an even temperature throughout which means you can fully utilise the space.
What do your friends and family think about your new home?
HAHA, usually shocked that we have actually done it!
No one can believe that we have our thermostat set to 21 and yet have reduced our bills.
Most of our friends and neighbours are stunned by all the stonework. We essentially built our house on bedrock so all the stone came out of the ground when we were digging the foundations, it would have been a shame to have not utilised it. It is a fascinating stone and changes colour in different lights, some days the house almost glows.
We have inspired at least one friend (that we know of) to want to live in a Passivhaus of their own one day. The most common question we get from friends who have experienced the Passivhaus for themselves is to ask why we aren’t building all houses like this. This is a very good question!
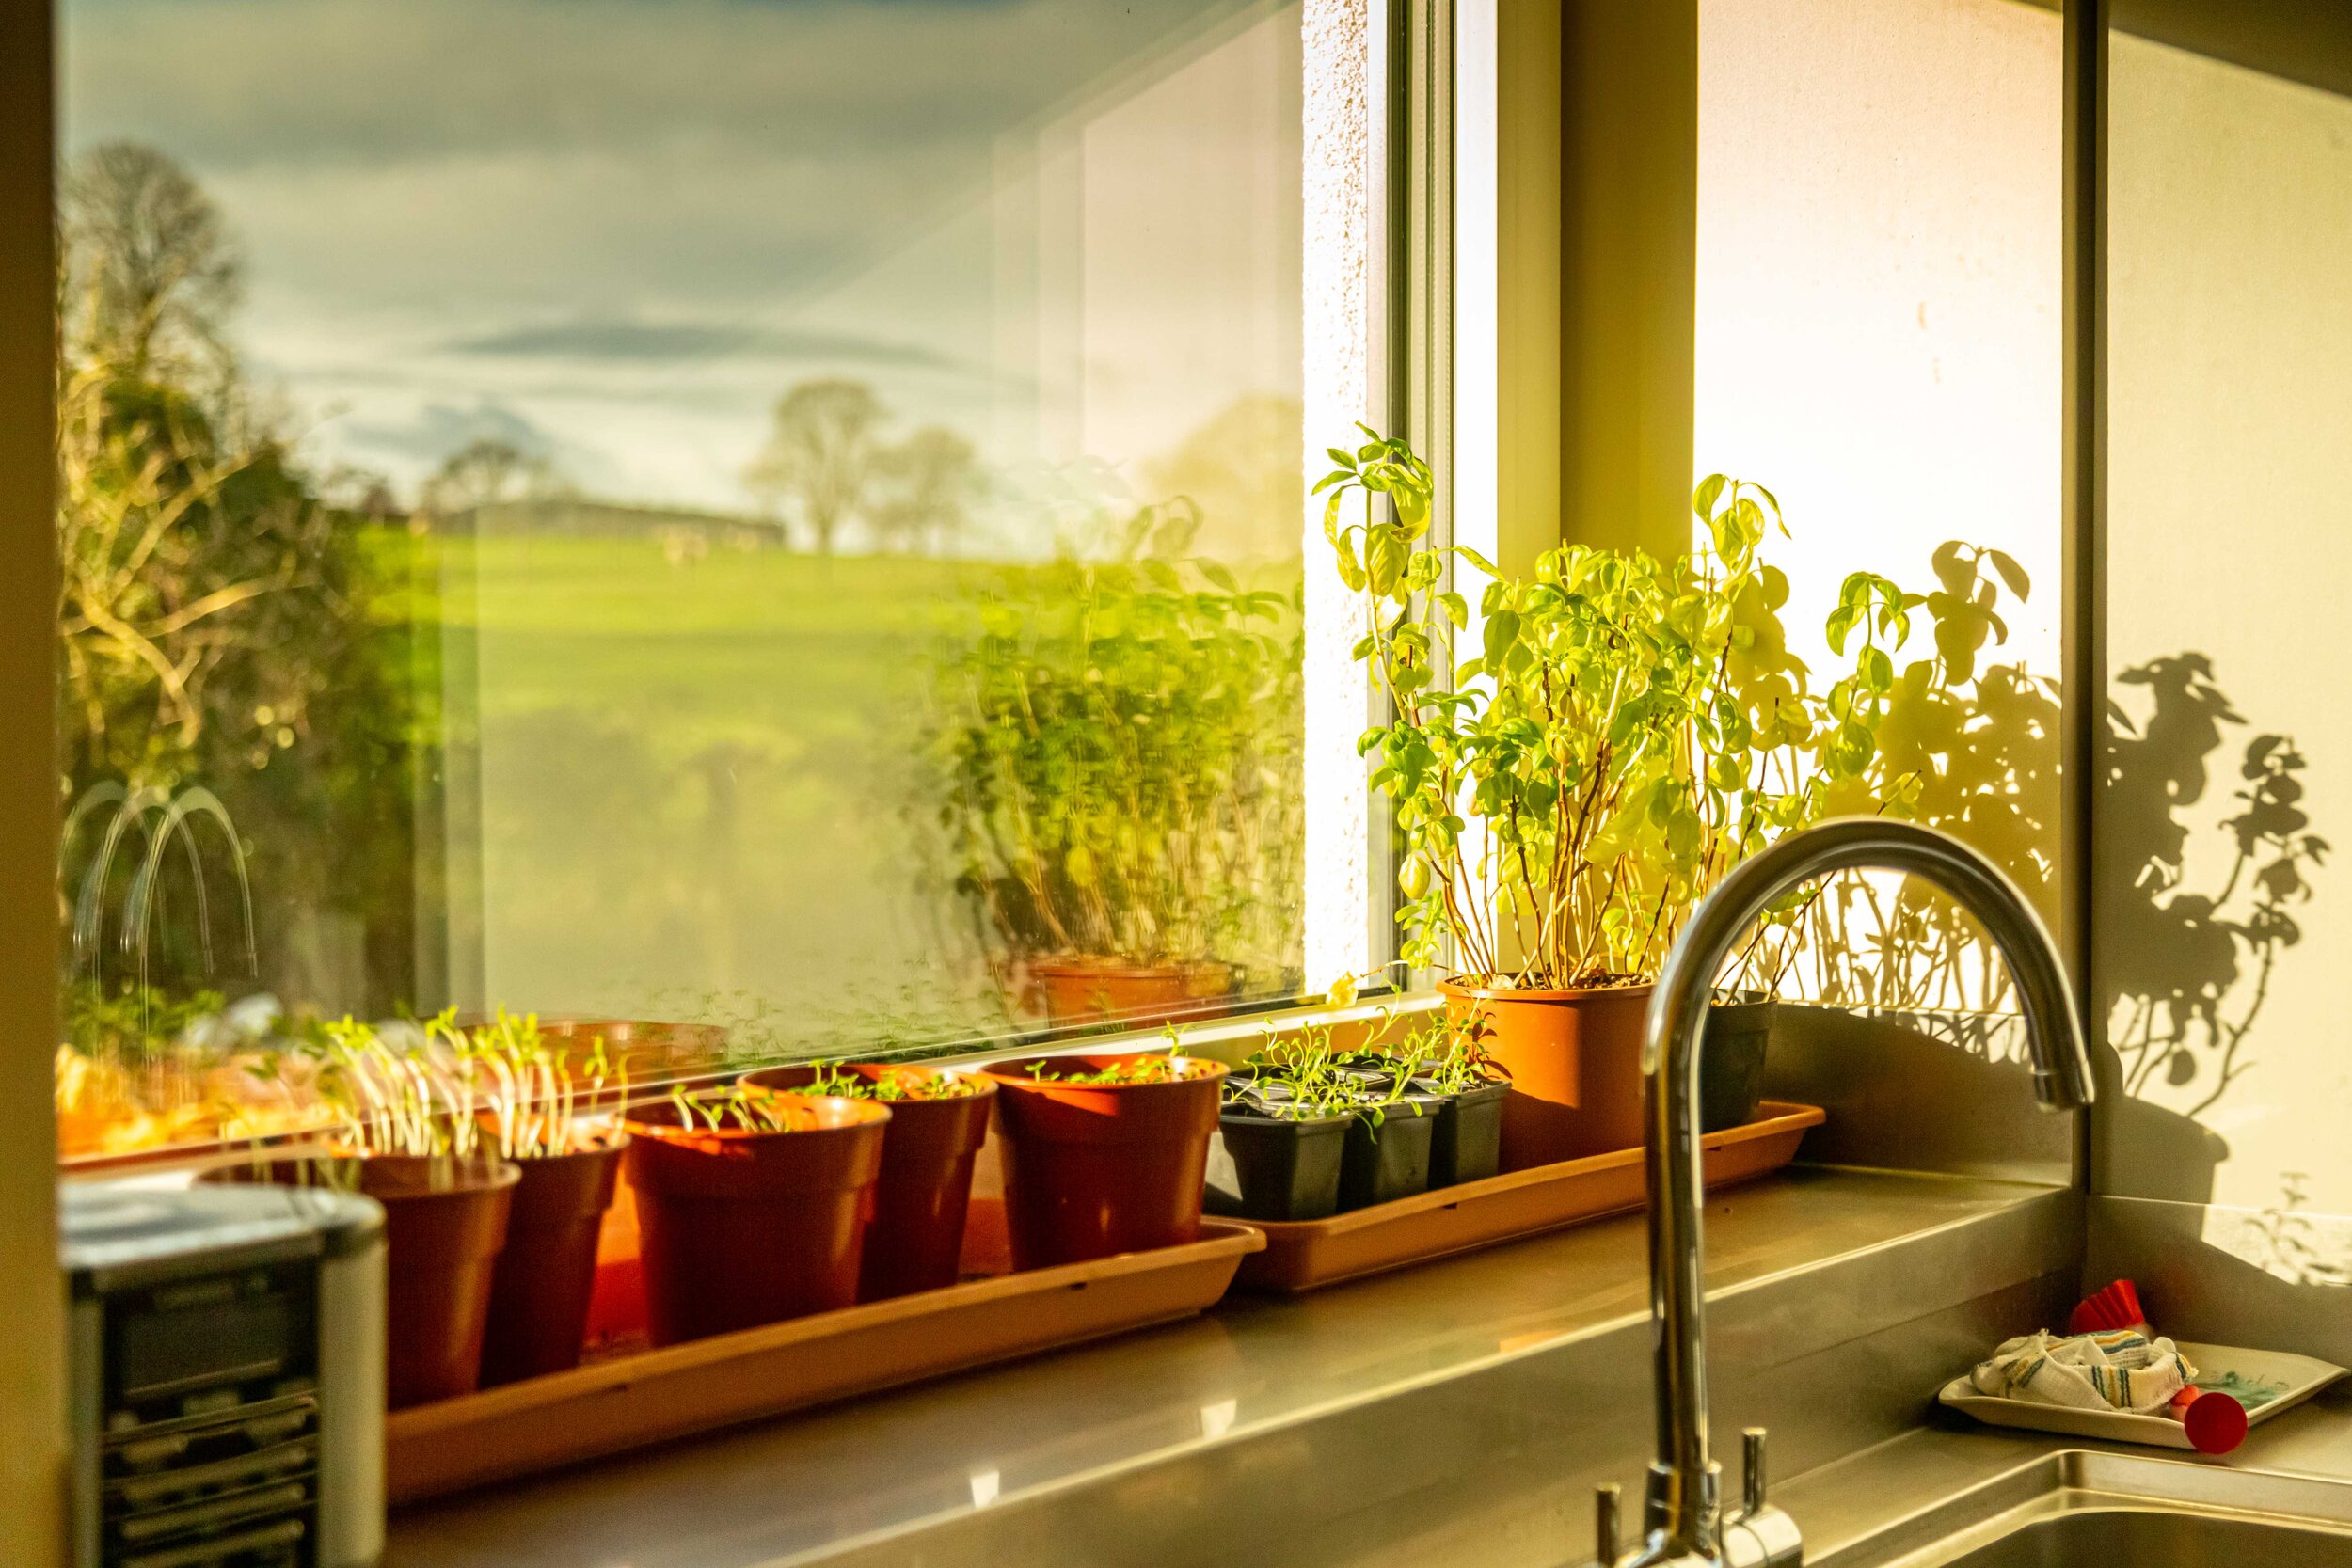
The only drawback we have discovered of the Passivhaus is that fresh cut flowers brought by visitors don’t last very long as the house is too warm. We have however found that blubs and other plants live very happily, and the warm house is great for germinating seeds on the window ledge!
Having successfully completed this project, I am wondering whether you are planning to get involved into any other similar projects in the future?
Not just yet! While we have successfully gained Passivhaus certification and finished the house, there are a few more jobs in the garden to do before I can move onto something else. Covid has made sourcing materials very difficult and added some delays on these jobs, but once these are done, I will need to think about the next challenge. Either I will hunt out the next adventure or it will find me!
Last but not least, what advice would you give to someone who is considering building their house to meet the Passivhaus standard?
Over this journey we have gained loads of experience, some of which is specific to Passivhaus and some which is just general advice to self-builders.
For anyone wanting to build to Passivhaus standard, educating yourself before you start is critical, there is so much knowledge out there. The more information you know about the products on the market the easier it is to solve problems you encounter on route, for example understanding there are different (sticky) tapes for different jobs and who knew that ‘airtight expanding foam’ was a thing.
Airtightness should be considered at all points during the building process, you have to carefully plan each penetration of the Passivhaus envelope to know which products you are going to use to seal the holes you’ve just made. Getting an air-tightness test as soon as you have a dry Passivhaus envelop was something Colin recommended, and I could not agree more. It enabled us to find any points which were leaking and do remedial work to get the structure right before fitting the plaster board.
When using the IFC system, make sure you put in enough service ducting before pouring the concrete. It would have been really hard to drill through reinforced concrete. Having planned our service ducting, we were able to get services in easy, we even built in some redundancy and have a few spare for the future!
Talk to manufactures of Passivhaus products, their technical departments have been very happy to help and they usually want to make their products perform at their best. They generally got very excited to hear that we were building a full Passivhaus so often went out of their way to help. The Zehnder (MVHR) technical department have been very helpful with software updates and very patient when we have queries.
Another benefit of building to Passivhaus standard it that it really does stop you compromising on route. Along the journey it would have been very easy to have compromised and bought building materials which were ‘almost’ the same as the branded product, even though the U value was not quite right for Passivhaus standard. Or to swap out materials when they were not in stock. Having a clear goal of the standard you want to achieve really does stop you from compromising, but we have ended up with a warm home as a result.
Now moving on to the more general stuff for anyone who is considering building their own home.
At the start it was really important to consider how we wanted to live in the space and to challenge ourselves to not just replicate how you live today. We found marking out some of the early floor plans in full size, in a car park really helped us visualise and understand our future home and how much space we needed. We challenged everything to really make sure we didn’t live to regret some poor planning decisions. An example of this is where to put the washing machine, usually this goes in a kitchen or a utility room, but neither are near the laundry basket nor where you store clean clothes. The lack of radiators also meant traditional ways of drying clothes had to be reconsidered. Our machine now lives in a purpose-built cupboard under the stairs which also functions as our drying cupboard, neatly tucked behind a door out of sight.
From the start we considered how we would clean and maintain the property. We have gone for wall hung toilets to make cleaning easier and wooden floors which are quick to clean.
Having a brother who has done a lot of building maintenance in a previous job means he wanted us to have pipe rod points accessible under cupboards in case the pipes ever get blocked. We also have isolation valves on all taps rather than service valves, so if something happens you are not trying to find a screwdriver to turn off the water. On a less dramatic scale it means we can also confidently turn off the water to change the washer on a tap.
Living on site during the building process, meant planning and considering the lighting has been much easier. We have been able to come in at different times in the morning and evening and get a feel for the natural light. The lighting in the kitchen was something we manufactured ourselves as we were unable to find anything on the market that did what we wanted. We wanted both bright task lighting but also a warmer upplight. A friendly lighting rep brought us some samples so that we could play with different lighting effects.
When using LED lights, we considered where the drivers would be located when laying out the electrics, so they could be changed easily. The bathroom lights have the drivers in the machine room above, so they are easy to change in the future.
Really planning the electrics is again critical, we made a few unusual choices but are so pleased that we did. We realised that we would often sit at the dinner table with a laptop and did not want trailing leads to the wall so fitted a floor socket that we now use almost daily! We also fitted shaver points inside the bathroom cupboards for charging toothbrushes out of sight. The wardrobes and kitchen cupboards also have power points, which are really handy.
Early in the design stage we sat with Colin and worked out how to build in storage. Having an upside-down house means we do not have a loft space to hide things in, so we had to think differently. We have a lot of built-in storage with a large space under the stairs and large larder cupboards in the kitchen. In the porch we created a good-sized area for storing shoes and coats, so that these didn’t even need to come inside the actual house! The mirrors in our bathrooms hide yet more storage. For more outdoor stuff and gardening things we have a large undercroft under the garage. This was not part of the original plan, but once we discovered it was an option we jumped at the chance. It is also a prefect consistent temperature for storing our crop of pumpkins!
“We have inspired at least one friend to want to live in a Passivhaus of their own one day. The most common question we get from friends who have experienced the Passivhaus for themselves is to why we aren’t building all houses like this. This is a very good question! ”


